A stud finder that beeps erratically or misses studs can be frustrating. False readings often come from user technique, wall material, or interference. This guide covers the most common causes and step-by-step fixes so you can locate studs reliably and avoid drilling into pipes or wires.
How a Stud Finder Works
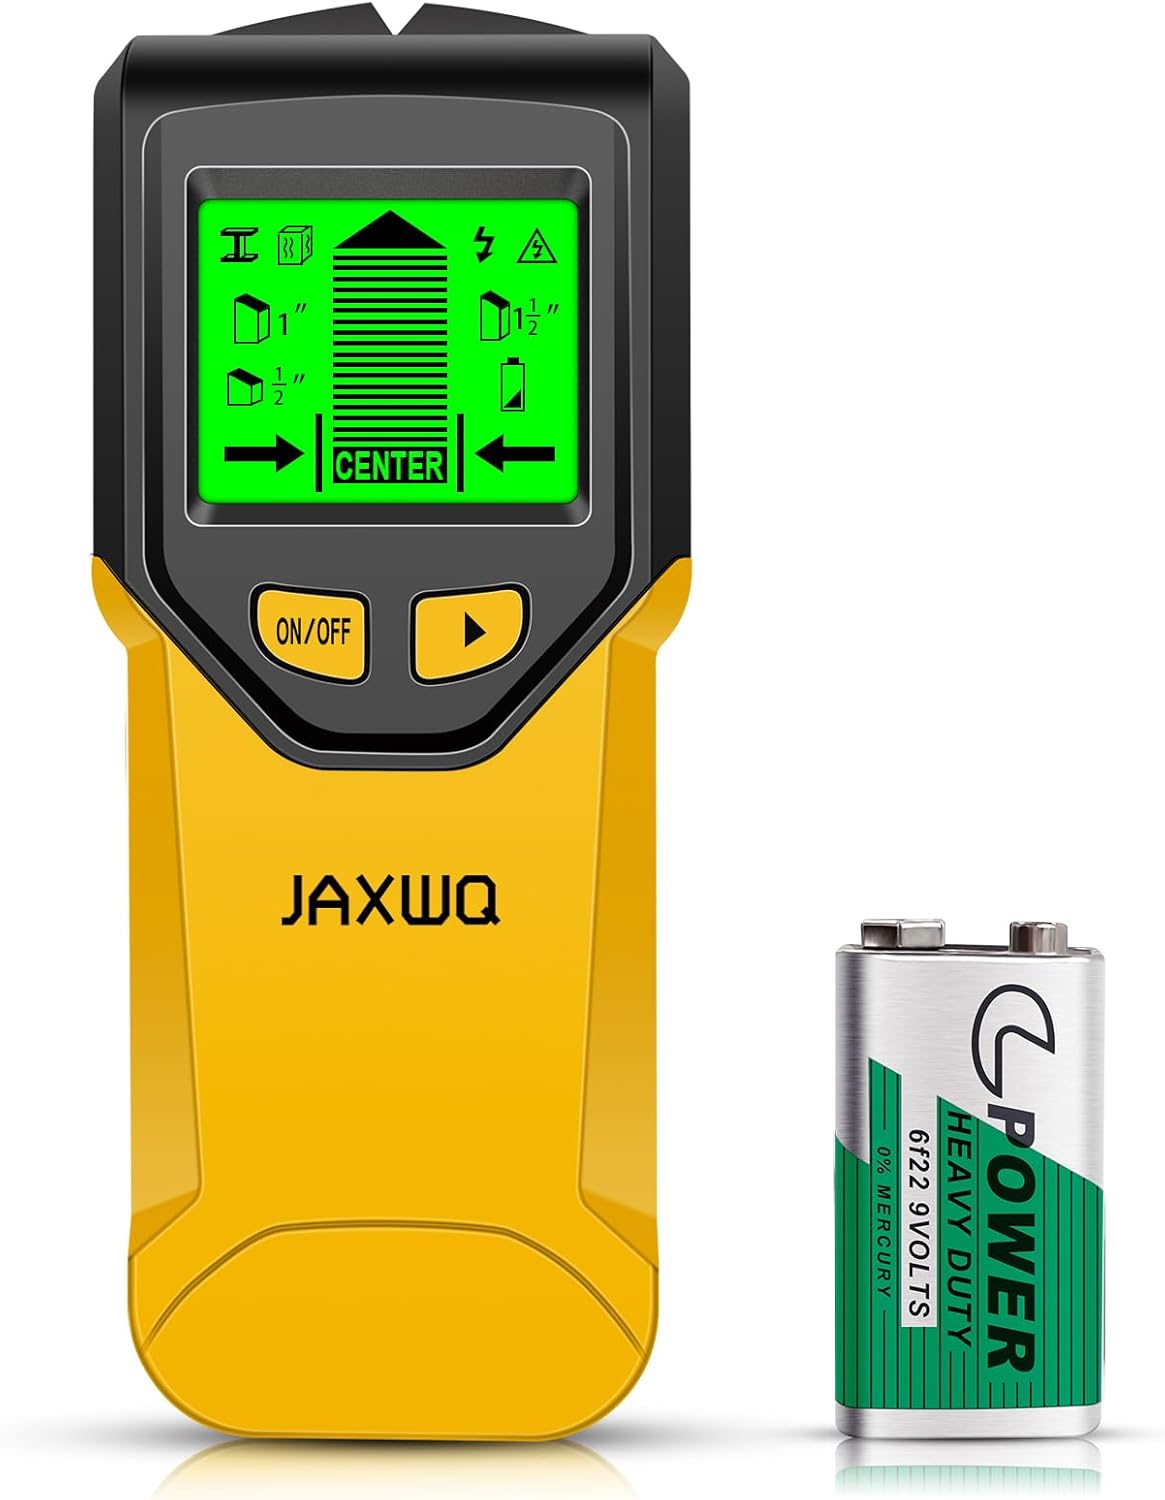
Most electronic stud finders use capacitance to sense changes in density behind the wall. When the tool moves over a stud, the dielectric constant of the material changes, and the finder signals the edge or center. Magnetic stud finders, on the other hand, detect the metal screws or nails that hold drywall to the stud. Both types have limitations that can lead to false readings.
Common Causes of False Readings
Understanding why your stud finder gives incorrect signals is the first step to fixing it. Here are the most frequent culprits:
- Calibration error. If you calibrate the finder over a stud or on a textured surface, it will not work correctly. Always calibrate on a bare section of the wall away from any stud.
- Moving too fast or not holding flat. Electronic finders need slow, steady motion. Tilting the tool or rushing can cause it to miss a stud or signal a false positive.
- Thick plaster or lath walls. Plaster over metal lath or thick layers of plaster can confuse capacitance sensors. The density variation is less distinct.
- Textured walls and tile. Popcorn ceilings, heavy orange peel texture, or ceramic tile create uneven surfaces that interfere with the sensor’s contact and calibration.
- Metal studs. Electronic finders designed for wood may not detect metal studs reliably. Some have a metal-scan mode, but false readings are common.
- Pipes and wires. Metal pipes, electrical cables, and even conduit can trigger a stud finder, especially if they are close to the wall surface.
- Deep scan mode misuse. Many finders have a deep scan setting for thicker walls. Using it on standard drywall can reduce accuracy and increase false positives.
- Dead or weak batteries. Low battery voltage can cause erratic behavior, including constant beeping or failure to detect.
- Magnetic finders finding fasteners instead of stud edges. A magnetic stud finder will snap onto any drywall screw or nail, but that fastener may be near the edge of the stud or in a piece of backing, not the center of a stud.
Step-by-Step Fixes
Follow these steps to improve your stud finder’s accuracy and confirm your findings.
1. Calibrate Correctly
Place the finder flat against the wall in an area you are sure does not contain a stud. Press the calibration button (or hold it, depending on your model) until the tool indicates it is ready. Keep the finder still during calibration. If you have a textured wall, try to calibrate on a smoother section or use a piece of cardboard as a temporary flat surface.
2. Move Slowly and Hold Flat
After calibration, slide the finder horizontally across the wall at a slow, steady pace. Keep the tool flush against the surface. If you tilt it or lift an edge, the sensor will give false signals. Practice on a known stud location to get a feel for the correct speed.
3. Make Multiple Passes
Do not rely on a single pass. Scan the same area from left to right and then right to left. Mark the edges of the stud each time. If the marks align within a half inch, you have likely found a real stud. If they vary widely, something else is causing the signal.
4. Use the Right Mode
If your finder has a deep scan mode, use it only for walls thicker than standard drywall, such as plaster over lath or tile backing. For normal drywall, standard mode is more accurate. Switch modes if you suspect a different wall construction.
5. Confirm with a Tape Measure
Studs are typically spaced 16 or 24 inches on center. Once you find one stud, measure from that location to predict where the next one should be. This is a helpful guide, but not a guarantee. Use a tape measure to check the spacing, then scan again to verify. If the finder shows a stud exactly where you expect, it is likely correct.
6. Try a Magnetic Stud Finder
If your electronic finder is giving unreliable results, a simple magnetic stud finder can help. It will locate the drywall screws or nails. Mark the top and bottom of each fastener line; the stud runs through those points. Magnetic finders work well on plaster and lath because they ignore the plaster and only react to metal. They are also unaffected by dead batteries.
7. Make a Small Test Hole
When you are unsure, drill a small test hole in a hidden area, such as behind a piece of furniture or inside a closet. Use a thin drill bit (1/8 inch or smaller) and drill slowly. If you hit wood or metal, you have found the stud. If you hit nothing, you are in a hollow space. This method is reliable but should be done carefully to avoid damaging finish surfaces.
8. Check the Batteries
Replace the batteries with fresh ones if your finder has been sitting unused for a while. Weak batteries are a common cause of erratic behavior. Many finders have a low-battery indicator, but not all do.
When to Call a Professional or the Manufacturer
If you have tried all the steps above and your stud finder still gives inconsistent readings, the tool itself may be faulty. Check the manufacturer’s instructions for troubleshooting and warranty information. Some finders can be recalibrated or reset. If the wall is unusually thick, made of concrete, or has radiant heating, a standard stud finder may not work at all. In those cases, consider hiring a professional who has specialized detection equipment. Also, if you suspect live electrical wires or plumbing pipes behind the wall and you are not comfortable drilling, call a licensed electrician or plumber.
Prevention
To avoid false readings in the future, follow these habits:
- Store your stud finder in a dry place and remove batteries if you will not use it for a long time.
- Calibrate on the same wall surface you intend to scan, away from corners and outlets.
- Practice on a wall where you already know the stud locations (for example, near an electrical box that is attached to a stud).
- Keep the sensor clean and free of dust or adhesive residue.
- Use a reliable stud finder appropriate for your wall type. If you frequently work with metal studs, choose a model that has a metal-scan mode.
- Combine multiple methods: use an electronic finder, then confirm with a magnetic finder and a tape measure.
FAQ
Why does my stud finder beep everywhere?
This usually means the tool was not calibrated correctly, or it is picking up interference from metal lath, pipes, or wires. Try recalibrating on a bare wall section. If the beeping continues, move to a different area and test again. Dead batteries can also cause constant beeping.
Why does my stud finder not detect any studs?
Possible reasons include thick plaster, tile, or a metal stud that the finder is not designed to detect. Check that you are using the correct mode (standard vs. deep scan). Also ensure the batteries are fresh. If the wall is very thick or has a metal surface, a magnetic finder may work better.
Can I use a stud finder on tile or textured walls?
Yes, but with caution. Textured surfaces can prevent the sensor from making full contact. Try calibrating on a smooth area nearby, or place a piece of painter’s tape over the texture to create a flat surface. For tile, use a deep scan mode if available, and be aware that the finder may detect the mortar or backer board instead of a stud.
Is it safe to drill based on a stud finder reading alone?
No. A stud finder cannot guarantee there are no wires or pipes behind the wall. Always avoid drilling directly above or below electrical outlets and switches, as wires often run vertically from them. If you have any doubt, turn off the power to that room at the breaker panel before drilling. For extra safety, use a wire detector or a voltage tester to confirm there are no live cables. Wear eye protection and follow the manufacturer’s instructions for your drill.
With proper technique and awareness of your wall type, you can greatly reduce false readings from your stud finder. Always use multiple methods to confirm a stud location, and prioritize safety by checking for wires and pipes before drilling. For more tips on layout and measurement tools, see our measuring tools guide.