Reading a tape measure is one of the first skills you need for any DIY project, yet the small lines between the inch numbers confuse many people. The good news is that the markings follow a simple pattern: each gap between inch numbers is divided into halves, then quarters, then eighths, then sixteenths. Once you recognize the pattern, you can read any tape quickly and mark your cuts with confidence.
What You Need
You only need a standard tape measure and something with a straight edge to test your reading. Before you start, make sure the tape is clean and the end hook is not bent, because a damaged hook can throw off every measurement. You will also want a pencil and a workpiece that gives you a clear surface to mark. For most practice, a piece of scrap lumber or a cardboard box works well.
How the Marks Are Organized
Every tape measure in the United States uses inch marks as the backbone of the scale. The largest numbers on the tape represent whole inches. Between any two whole-inch numbers, you will see a series of shorter lines. The longest line between the inch marks is the half-inch mark, which sits exactly halfway. The next longest lines are the quarter-inch marks, and the shortest lines are the eighth-inch and sixteenth-inch marks.
This arrangement means you can always figure out a fraction by counting the lines after the last whole inch. The line length tells you the denominator, which is the bottom number of the fraction. A line that reaches halfway between the inch marks is one half. A line that is shorter but still clearly visible is one quarter. The even shorter lines are eighths, and the very shortest lines are sixteenths.
Reading from the Nearest Inch
The easiest way to read a tape is to start at the nearest whole inch to the left of the point you are reading, then count the fraction marks to the right. For example, if the end of the tape lands two lines past the four-inch mark, you are at four and two sixteenths, which reduces to four and one eighth. This method prevents you from trying to read the fraction from memory.
Always read the measurement from the point where the tape touches the end of the workpiece, not from the case. If the tape sits at an angle, straighten it so the edge of the tape lies flat against the material. Tapes are marked on the top edge, and the bottom edge of the tape often has its own scale, which is usually the metric scale.
Feet Markings on Longer Tapes
On longer tapes, you will see a small red or highlighted number at every twelve-inch interval. This mark shows the number of feet, so at twenty-four inches you will see a number two, with the inch numbers continuing at twenty-five, twenty-six, and so on. Some tapes also label the foot marks with the word “FT” or a small arrow.
To read a measurement past one foot, take the number before the apostrophe mark as feet and the remaining inch number as inches. For instance, if the tape reads three for the foot mark and then seven inches, the measurement is three feet seven inches. This style is common on contractor tapes and helps you avoid counting all the inches across an entire room.
Stud Spacing Marks
Many tape measures highlight every sixteen inches, often with a red box or red numbers. These are stud spacing marks, matching the common 16-inch on-center spacing of wall studs. The marks appear at sixteen, thirty-two, forty-eight, and so on, which matches the common spacing between studs.
Some tapes also have small black diamonds every nineteen and three-sixteenths inches for truss or joist spacing. These marks are less common, but they exist on many contractor tapes. When you are framing a wall or hanging cabinets, the stud marks save time because you can transfer the spacing directly from the tape without doing math.
Metric Scales on Some Tapes
Many tapes have a second scale along the bottom edge showing centimeters and millimeters. This scale is not a fraction of an inch; it is a separate measurement system. The bottom edge is usually divided into larger millimeter marks with numbered centimeter marks every ten millimeters.
If you measure in metric, use only the bottom edge and ignore the inch scale above it. Trying to mix the two scales will lead to mistakes. Some tapes also include a small table at the case that converts inches to centimeters, which can be handy for quick comparisons.
Why the Sliding Hook Moves
The metal hook at the end of the tape slides back and forth by the thickness of the hook itself. This movement is not a defect. It compensates for the hook so your measurement is accurate whether you push the hook against an outside surface or pull it over an inside edge.
When you measure the outside of a board, push the hook against the edge so the hook slides toward the tape and sits at zero. When you measure an inside dimension, like the distance between two walls, hook the tip over the edge and pull the tape tight so the hook slides outward. The hook returns the tape to the correct zero position in both situations.
Check the hook regularly to make sure it still slides freely. If the hook bends or the rivets loosen, your measurements will be off. Compare the hook position to the first inch mark to verify it is working correctly.
Burning an Inch for Accuracy
If the end hook is damaged or you need extra precision, you can burn an inch. This technique means you start measuring from the one-inch mark instead of the end of the tape. Hold the tape so the one-inch line aligns with the edge of your workpiece, then measure to the end point and subtract one inch from the reading.
Burning an inch is also useful when the hook will not sit flat, such as when you are measuring against a rounded corner or a surface that prevents the hook from touching. Align the one-inch mark carefully with the start point, then use a pencil to mark the end of the measurement. The extra inch at the beginning is easy to subtract later.
How to Mark with a V
When you need to locate a precise point, use a sharp pencil and make a V-shaped mark instead of a single dot. Draw one short line slanting to the left and another slanting to the right so they meet at the exact measurement point. The point where the V crosses gives you a clear, easy-to-see target for your saw blade or drill bit.
A V mark is better than a wide pencil dot because a dot has thickness and can shift your cut. For very precise work, use a knife or a fine marker to score a tiny line at the point of the V. This habit matters most for joinery, cabinet work, and any project where a small error multiplies across several pieces.
Measuring Twice
The old rule to measure twice and cut once is still the best habit you can develop. Before you make any cut, read the measurement once, then read it again from the other direction or from a different starting point. For example, if you measure twenty-three and three quarters from the left end, check that the tape also reads the same when you measure from the right end.
Measuring twice also means confirming that the tape is not twisted and that the hook is seated firmly. On long pieces, keep the tape taut and straight; any sag or twist over a long span adds error.
Reference Table of Common Fractions
The table below shows the most common fractions you will see on an inch scale, along with the line length that represents each one.
| Line Length on Tape | Fraction | Decimal Equivalent | Example Reading |
|---|---|---|---|
| Longest line (numbered) | 1 inch | 1.0 | 5 inches |
| Next longest line | 1/2 inch | 0.5 | 5 1/2 inches |
| Quarter lines | 1/4 and 3/4 inch | 0.25 and 0.75 | 5 3/4 inches |
| Eighth lines | 1/8, 3/8, 5/8, 7/8 inch | 0.125, 0.375, 0.625, 0.875 | 5 5/8 inches |
| Shortest lines | 1/16, 3/16, 5/16, 7/16, 9/16, 11/16, 13/16, 15/16 inch | 0.0625, 0.1875, 0.3125, 0.4375, 0.5625, 0.6875, 0.8125, 0.9375 | 5 7/16 inches |
To reduce a fraction, look for a common denominator. Four sixteenths is the same as two eighths and one quarter. Most projects do not require you to reduce the fraction, but knowing that sixteen sixteenths equal one whole inch helps you avoid mistakes when counting marks.
Step-by-Step Instructions
Follow these steps to read a tape measure reliably on any project.
- Choose the correct scale. Use the top edge in inches and the bottom edge in metric. Do not switch scales in the middle of a measurement.
- Seat the hook against the outside edge or hook it over an inside edge, depending on what you are measuring.
- Pull the tape taut and keep it flat against the workpiece. Do not let it twist or sag.
- Find the whole inch mark that is closest to the left of the end point. Write down that number.
- Count the fraction lines to the right of that whole inch until you reach the end point. Use the line lengths to identify halves, quarters, eighths, or sixteenths.
- Combine the whole inch number and the fraction to write the final measurement, such as 12 5/8 inches.
- Mark the point with a sharp V and verify the measurement a second time before cutting.
Common Mistakes
The most common mistake is reading the wrong denominator. Beginners often see the shortest line and assume it is an eighth when it is actually a sixteenth. Look at the relative line lengths rather than counting too quickly. Another frequent error is reading from the wrong end of the tape, which happens when you hook the tape over an inside edge but read the measurement from the top edge while looking at it from an angle.
People also forget about the hook movement and assume the hook is loose or broken. The hook is supposed to move. If you measure against a surface without pushing or pulling the hook into the correct position, you will be off by the thickness of the hook. Take a moment to seat the hook firmly before reading.
Finally, do not write down a fraction that is not fully formed. Say you count seven small lines past the five-inch mark. Write five and seven sixteenths, not five seven over nothing. The denominator comes from the type of line you are counting, and writing it down completely prevents confusion later.
Troubleshooting
If your measurements seem off by a tiny amount, check the hook for bending. Place the end of the hook against a straight edge and look for a gap between the hook and the rule. If the hook is bent, bend it back gently with pliers or replace the tape.
If the tape will not stand out straight, the spring may be weak or the tape may be twisted. A twisted tape creates a curve that shortens the measurement. Hold the tape flat or drag it along the workpiece so it lies straight. If the tape no longer locks, clean the lock mechanism or replace the tape.
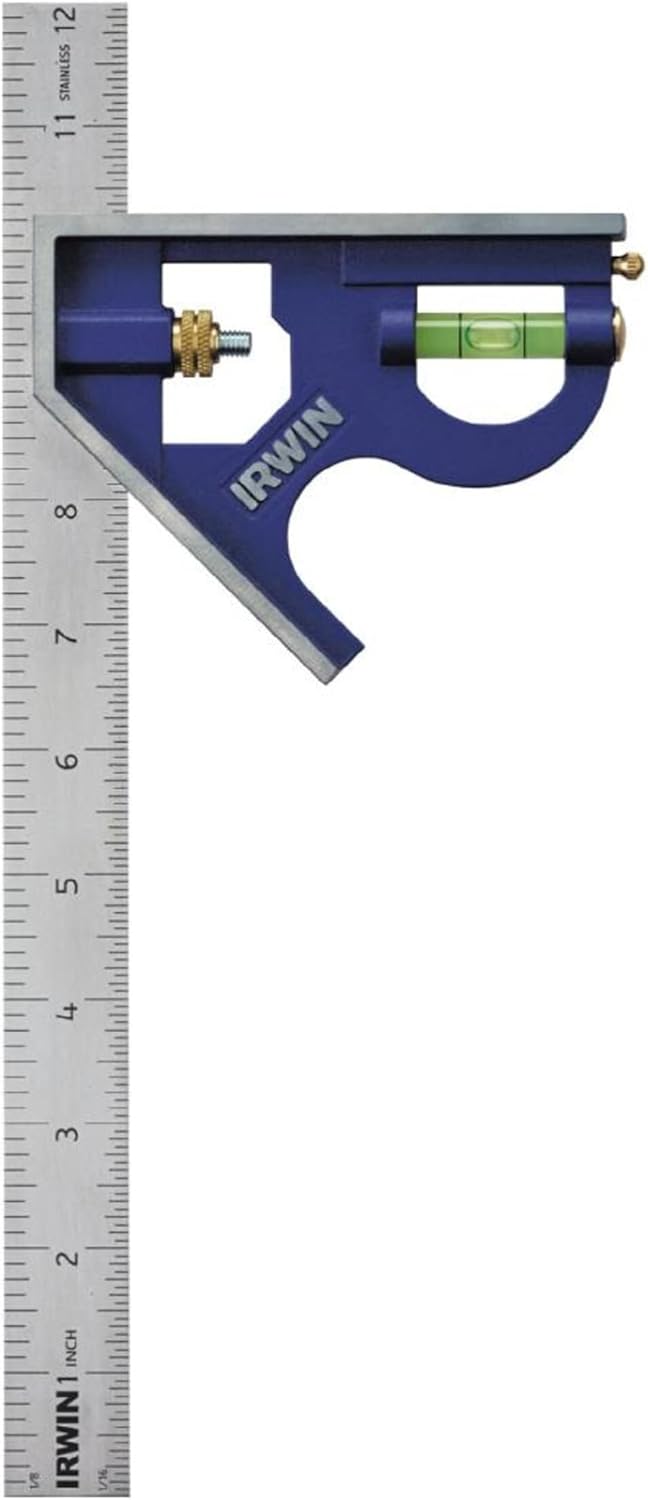
When you need extra precision and the tape end is in poor condition, use the burning an inch method described above. This technique gives you a reliable measurement even with a damaged hook. For layouts where a tape is not precise enough, such as fine joinery, consider using a measuring and layout tool like a combination square or a precision rule alongside your tape.
Related Measuring Skills
Once you are comfortable reading fractions, you can expand your measuring toolkit. A tape measure is ideal for long distances, but a level and a laser level help you transfer measurements accurately across a room. If you are hanging shelves or aligning picture frames, a laser level can save time. For straight lines and vertical checks, a level ensures your marks are true.
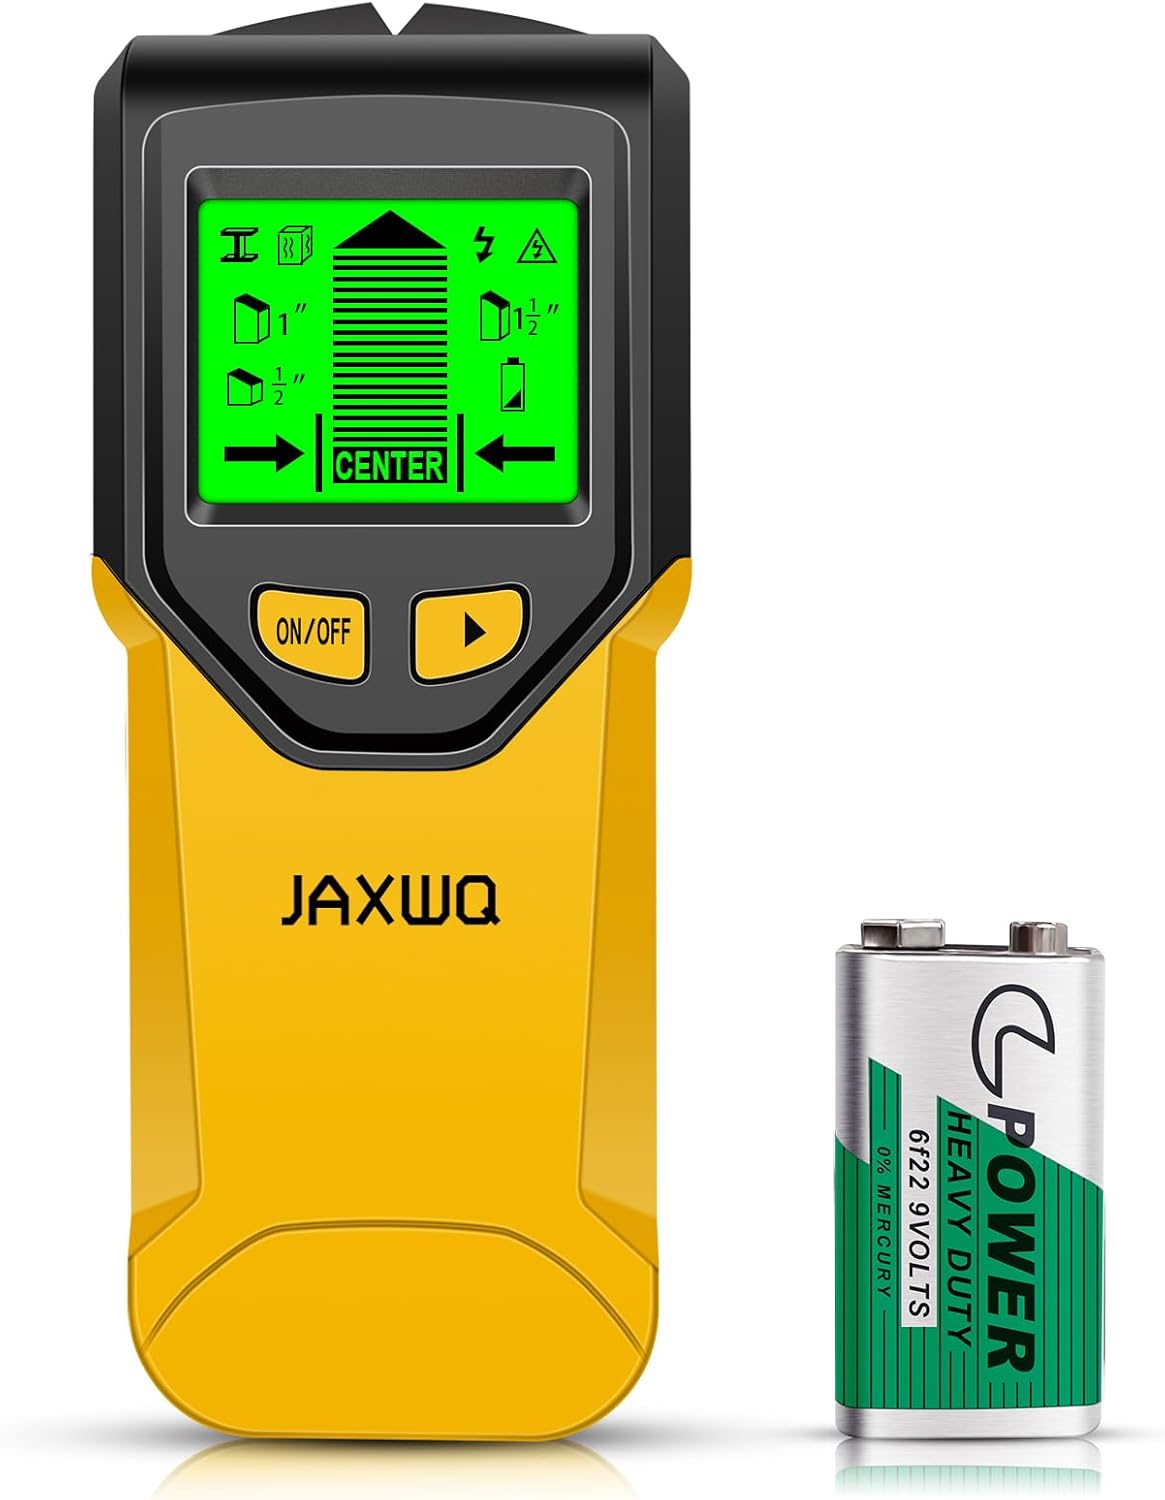
If you are marking stud locations for anchors or heavy shelves, the stud marks on your tape are only a starting point. Use a stud finder to confirm the exact center of each stud, because framing may vary around pipes or electrical boxes.
FAQ
Why does the hook on my tape measure move back and forth?
The hook moves by the thickness of the metal so the tape reads zero correctly for both inside and outside measurements. Its movement is intentional, not a sign of damage. Check that it slides freely and seats firmly against the workpiece.
What is the difference between the red numbers and the small black numbers?
On many tapes, the large black numbers are inches, while red numbers or red boxes mark feet or the sixteen-inch stud spacing. Some tapes also print small fraction labels near the shorter marks.
How do I read a measurement that is not exactly on a mark?
Read the nearest whole inch to the left, then count the fraction lines to the right until you reach the end point. Identify the denominator from the line length, then write the whole number and fraction together. For example, four inches plus one short sixteenth line is four and one sixteenth.
Should I use the metric side or the inch side?
Use whatever system your project requires. In the United States, most home improvement projects use inches, but metric is common for imported furniture or certain hardware. Pick one system and stick with it for the entire project so you do not mix units.
Reading a tape measure is a skill that improves quickly with practice. Spend a few minutes measuring scrap pieces and verifying your readings with a ruler. Once the fractions feel natural, every cut, layout, and installation becomes faster and more accurate.