By Caleb Morgan
Updated November 2026
A miter saw for cutting molding lets you make accurate angled cuts that fit together into tight inside and outside corners. Once you understand how molding sits against the wall and how the saw angles relate to that position, you can cut crown, base, and casing with clean, gap-free joints. This guide walks through the setup, the cutting logic, and the habits that prevent wasted lumber.
Understand How Molding Sits Before You Cut
Most trim problems come from misreading how the piece is oriented. Base molding and most casing lie flat against the wall, so you cut it with the face up and the saw set to a miter angle only. Crown molding is different. It is installed at an angle, typically 38 or 45 degrees to the wall and ceiling, and it must be cut with the saw tilted (bevel) and angled (miter) at the same time. Many owners find that a spring angle chart or a scrap-cutting test saves time here.
Shopping for one? See our guide: 3 Best Miter Saw Work Tables for Job Sites and Shops: Picks Compared (2026).
Set Up the Saw for Inside and Outside Corners
For a standard 90-degree inside corner, each piece is cut at 45 degrees, with the miter angle set to 45 degrees in opposite directions for the left and right pieces. Outside corners use the same angles, but the pieces are reversed. Check that the saw’s detent at 45 degrees is accurate by cutting two scrap pieces and fitting them together. If they gap, adjust the detent or fence before cutting finished stock.
- Measure the wall length at the bottom of the molding, not the top, for base and casing.
- Mark the cut with a pencil line, then align the blade just outside the line on the waste side.
- Hold the molding firmly against the fence and table, with the face of the molding down for base and casing.
- Make one cut, then test-fit before cutting the mating piece.
- Trim in small increments; it is easier to take off a sliver than to rescue a short piece.
Cut Crown Molding With Nested Positioning
Crown molding is easier to handle if you cut it upside down and backward against the saw’s fence and table, which mirrors how it sits on the wall. Manufacturers often include a reference chart on the saw or in the manual that shows the miter and bevel settings for common spring angles. Clamp a stop block at the measured length so each piece comes out the same, and keep the wide face of the molding flat on the table. Consult a professional if your ceiling is unusually out of square, since the angles may need adjustment.
Checklist Before Each Cut
- Confirm which face of the molding will be visible.
- Verify the miter and bevel settings match the cut type.
- Use a sharp, fine-tooth blade rated for finish work.
- Keep your hands at least several inches from the blade path and let the blade stop before lifting.
- Support long pieces with a stand or roller so they do not drop at the end of the cut.
Common Mistakes
- Measuring from the top edge of base molding instead of the bottom edge.
- Assuming the saw’s 45-degree detent is accurate without testing it.
- Cutting crown with the wrong face against the table, which changes the angle.
- Using a dull or coarse blade that tears the thin edges.
- Cutting every piece to length before test-fitting the first corner.
Recommended gear
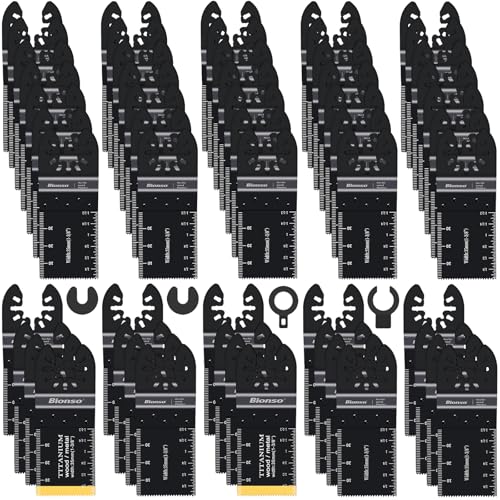
A sharp finish blade reduces tear-out on the thin, decorative edges of trim, which helps joints close tightly. View on Amazon
A sturdy saw stand or roller support keeps long lengths of molding level, so the cut angles stay consistent from the start to the end of the piece. View on Amazon
A small square and a pencil help verify that the saw’s detents and fence are true before you commit to finished stock. View on Amazon
For more on saw setup and stands, see Miter Saw Stands, Cutting Guides and Sawhorses and Miter Saw Buying Guide: Size, Sliding and Compound Explained.
FAQ
Can I cut crown molding with a standard miter saw?
Yes. A standard miter saw can cut crown molding if it can tilt the blade and set the miter angle at the same time, which is called a compound cut. Set the angles to match the molding’s spring angle and test on scrap first.
What angle do I use for a 90-degree inside corner?
Each piece is cut at 45 degrees, with the miter set in opposite directions for the left and right sides. Test-fit two scraps before cutting finished molding.
Why do my corners gap even when the angles look right?
The most common causes are an inaccurate saw detent, a measurement taken from the wrong edge, or a fence that is not square to the blade. Check each one with a scrap test.
Conclusion
Clean molding joints come from knowing how each profile sits on the wall and setting the saw to match. Test your angles on scrap, measure from the correct edge, and cut in small steps. With those habits, your corners will close tightly on the first try.
Related reading
- Saw Blades: Tooth Count, Kerf and Grind for Circular, Miter and Table Saws
- Parts for DeWalt Miter Saw: Finding and Replacing the Right Components
- Miter Saw Laminate Flooring: A Step-by-Step Guide for Clean Cuts
- Miter Saw Harbor Freight: How to Choose and Use One Safely (2026)
Ready to choose one?
About Caleb Morgan
Caleb Morgan is part of our editorial team and reviews and edits our power tools guides, checking product details against manufacturer specifications and owner feedback.