Marking tools are easy to overlook, but the line you draw often determines the cut you make. A chalk line for framing, a sharp marking knife for a drawer joint, a scriber for a metal bracket: each tool leaves a different kind of reference line. Choosing the right one depends on the material, the surface, and how much accuracy you need. This guide walks through carpenter pencils, mechanical pencils, marking knives, gauges, center finders, metal scribes, chalk lines, and paint markers so you can pick the right tool for the job.
What Marking Tools Do and Who They Suit
Marking tools create a visible guide that you follow with a saw, chisel, plane, or router. For homeowners and DIYers, the most important thing is to use a line that stays clear long enough for you to work, without being too thick for the job. A framing layout can tolerate a broad pencil line. A dovetail or hinge mortise needs a knife line that shows exactly where to cut. Your skill level matters less than matching the tool to the task, because a clean layout makes nearly every cut easier.
If you are new to woodworking or metalworking, a basic layout kit is simple: a carpenter pencil or mechanical pencil, a marking knife, a marking gauge, and a chalk line cover most projects. As you move into joinery and cabinet work, you will add more specialized tools. You can also start with what you have and upgrade when a particular line stops being accurate enough for you. For measuring and layout as a whole, see the broader guide to measuring and layout tools before buying anything.
Main Types and How They Differ
Carpenter Pencils and Mechanical Pencils
The carpenter pencil has a thick, flat lead with a rectangular body. It is easy to grip, does not roll off a workbench, and can write on rough lumber, plywood, drywall, and concrete. The wide lead creates a bold mark that you can see across a workshop, but it is not precise enough for fine joinery. If you hold the pencil at an angle, you can use the flat edge of the lead to get a slightly finer line, but the line will still be much wider than a marking knife.
Mechanical pencils are a better choice when you need a consistent, thin line on smooth wood or sheet goods. You can expose a short amount of lead and use a light touch. Some models have a locking sleeve that prevents the lead from retracting, which works well against a square. Lead refills are easy to find, but the thin lead can snap if you press too hard. For layout that needs a clear line on a flat, prepared surface, a mechanical pencil is an excellent middle ground between a carpenter pencil and a knife.
Marking Knives
A marking knife is the go-to tool for precise joinery lines. Instead of drawing a groove, a sharp knife cuts the surface fibers of the wood. When you chisel or saw against that cut line, the fibers separate cleanly, which gives you a more accurate edge than a pencil mark. Marking knives come in two common shapes: a single-bevel blade for tight against a square or straightedge, and a double-bevel or spear-point blade for general layout.
Use a marking knife on solid wood and plywood where you want the cut line to remain visible as you work. Dull knives tear fibers rather than cutting them, so keep the edge sharp. Treat a marking knife like any cutting tool: keep the blade covered when not in use, cut away from yourself, and follow the manufacturer’s safety instructions.
Marking and Cutting Gauges
A marking gauge scribes a line parallel to an edge, which is essential for mortises, tenons, and rebates. The tool has a beam that slides through a stock, an adjustable slide, and a pin or blade at one end. You set the distance from the stock to the pin, press the stock against the edge of your workpiece, and drag the gauge along the wood to leave a clean line.
A cutting gauge is similar, but it uses a small knife blade instead of a pin. It is especially useful when working across the grain because the blade slices the fibers instead of dragging them. Many models let you change between a pin and a blade. For joinery, a cutting gauge is the more accurate choice. Always orient the blade so it trails safely and does not climb out of the cut.
Center Finders
A center finder helps you locate the center of round or cylindrical stock, such as a dowel, pipe, or spindle. The simplest version is a small V-shaped body with a ruler or mark. When you place the V against the outside of the cylinder, the measuring edge points at the center. You can then draw a line across the end grain and repeat at another angle to find the intersection point.
This tool is handy for turning projects, drilling into dowels, or marking metal pipe before cutting. It is a low-cost, compact addition to a layout kit, and it saves time compared with measuring across the diameter and calculating halfway. Look for a center finder with a clean ruler edge and a body that sits securely against the workpiece.
Scribes for Metal
Metal layout needs a line that will not wipe away and that can be cut or ground away later. A metal scriber is a hardened steel tool with a sharp point. You drag it across the surface of steel, aluminum, or brass to leave a fine scratch. For better visibility, many metalworkers first coat the surface with layout fluid, which dries and creates a colored background. The scriber then produces a bright line that is easy to see and follow.
Do not use a wood marking knife on metal; the blade is usually not hard enough and may chip. Instead, choose a scriber with a comfortable knurled handle and a replaceable point if possible. When scribing on hard metal, wear eye protection and mark away from your body. Be aware that scratched lines can create stress points on thin or machined parts, so follow recommended shop practice for your project.
Chalk Lines and Chalk Colors
A chalk line is the fastest way to mark a long straight line between two points, such as a layout line on plywood, the center of a wall, or a reference line on a floor. The reel holds a string and chalk; you pull the string tight along the surface, lift it away from the middle, and snap it down to leave a straight chalk mark.
Chalk colors matter more than many people realize. Standard blue chalk is common and works well on many surfaces. Red and other dyed chalks can leave a strong, permanent-looking stain on wood, concrete, and unfinished materials. They are useful for rough work and layout where you want the line to survive heavy handling, but they can be difficult to remove. White and colored chalk lines have different visibility on different materials. Before using chalk, check the label and test it on a scrap piece, especially if you care about the final appearance of the project.
Paint Markers
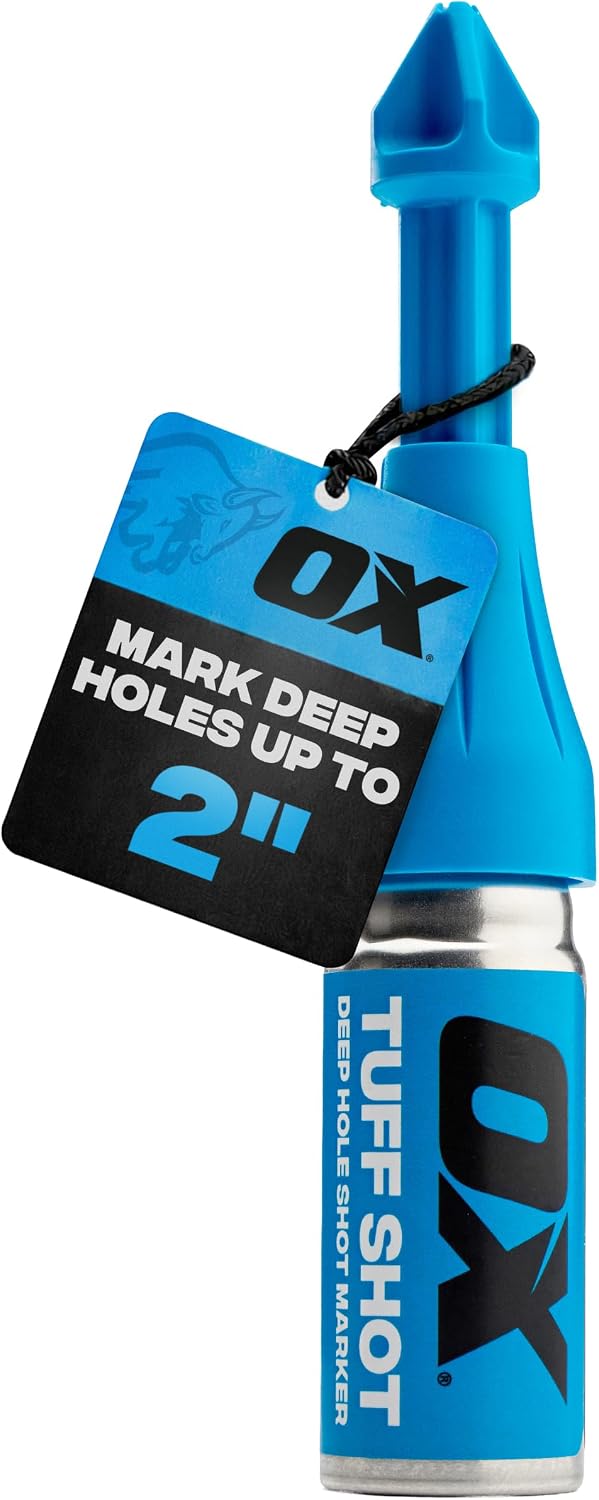
Paint markers are useful when graphite, chalk, or a scratched line is hard to see. They write on dark wood, plastic, glass, metal, and even concrete. You can find markers with fine or broad tips, and they come in both temporary and permanent versions. For layout work, make sure you know which type you are using. Some permanent paint markers leave a mark that is nearly impossible to remove, so reserve them for rough work or surfaces intended to be painted over.
Features That Actually Matter
When shopping for marking tools, focus on the few features that affect accuracy and comfort rather than flashy extras. A good marking tool should hold a clean line, sit comfortably in your hand, and stay usable without a lot of maintenance.
- Edge or point durability: Steel that holds an edge will stay accurate longer. On gauges and scribers, harder materials keep a finer point.
- Lead or tip quality: For mechanical pencils, look for a lead that does not crumble easily. For paint markers, a controlled tip keeps lines from bleeding.
- Adjustability: A marking gauge should have a smooth, positive slide that does not slip when you set the distance.
- Visibility: The line should contrast with the surface you are marking. A light pencil line on white maple is easy to lose, while a knife line or dark chalk may stand out better.
- Replaceable parts: Knife blades, scriber points, and chalk reels can wear out or break. Being able to replace a blade or point extends the life of the tool.
| Marking Tool | Best For | Accuracy Level |
|---|---|---|
| Carpenter pencil | Rough framing, broad layout on lumber | Low |
| Mechanical pencil | Thin lines on flat, prepared surfaces | Medium |
| Marking knife | Joinery, clean cut lines on wood | High |
| Marking gauge | Parallel lines, mortise and tenon layout | High |
| Cutting gauge | Lines across the grain on wood | High |
| Center finder | Finding centers of round stock | Medium to high |
| Metal scriber | Layout on steel, aluminum, and brass | High |
| Chalk line | Long straight lines on large surfaces | Low to medium |
| Paint marker | Rough marks on dark or uneven surfaces | Low |
Matching the Tool to Accuracy Needs
For rough framing, a carpenter pencil is usually enough. The line only has to be close, and the piece often gets trimmed or covered. For the same reason, chalk lines work well for snapping long reference lines on subfloor, sheathing, and interior walls. If the line is slightly off, it does not ruin the final project.
For cabinet work, furniture, and anything with visible joints, move to a marking knife or cutting gauge. A knife line cuts the wood fibers, so when you saw or chisel, the tool follows the cut rather than wandering across pencil graphite. Use a marking gauge for setting consistent distances on multiple pieces, such as laying out a row of tenons. The thin scratch line gives you a reference that is more exact than a pencil.
For metal projects, a scriber is standard. The scratch line is accurate, permanent, and does not wash off. If you are cutting or bending metal, follow the scribed line closely. For measuring and layout tools that work with these markers, including squares and straightedges, the guide to carpenter and layout squares is worth reading. In many projects, you will use a square to guide the marking knife or pencil, and the quality of that edge affects the line.
Sizing, Fit and Compatibility
Marking tools are generally compact, but sizing and compatibility still matter. Carpenter pencils have a thick rectangular body and a large lead, so you need a compatible sharpener. A standard round pencil sharpener will not work. You can sharpen a carpenter pencil with a utility knife, a special sharpener, or a flat file, whichever the manufacturer recommends.
Mechanical pencils use different lead diameters. Thin leads are good for tight layout but snap easily, while thicker leads make bolder lines. Choose a pencil that accepts standard refills and consider buying a few spare tubes so you do not run out mid-project.
Marking gauges vary in beam length and stock height. For most cabinet and furniture work, a medium beam is versatile. If you plan to mark wide panels, compare the maximum capacity of the gauge to the dimensions of your materials. The same applies to center finders: make sure the V shape can sit firmly on the diameters you will use most.
Cutting gauges use small replaceable blades made for that gauge. Check the manual for the correct blade style. A blade that is too thick or too thin for the gauge can be unsafe and can damage the tool.
Common Buying Mistakes
One common mistake is buying only a carpenter pencil, then trying to use it for fine joinery. The pencil line is too wide, and the result is a loose-fitting joint. Add at least a mechanical pencil or a marking knife for detail work.
Another mistake is ignoring chalk color. If you snap a line with a permanent chalk color on a hardwood floor or a piece of furniture, the stain may not come out. Keep one chalk for rough work and a different, clearly labeled color for temporary layout that needs to be cleaned up.
People also buy a cheap scribing or marking knife and never keep it sharp. A dull knife tears wood and can skip across metal, which is more dangerous than a sharp one. Plan to learn how to sharpen the blade or use replaceable blades.
Finally, do not overbuy. You do not need a full set of specialized gauges to start. A marking gauge, a knife, and a reliable square will get you through most beginning and intermediate woodworking projects. Later, add a cutting gauge or a larger center finder only if you find yourself forcing the tool you already own.
Care, Cleaning and Upkeep
Marking tools last a long time if you keep them clean, dry, and sharp. Wipe down chalk reels after using them on dusty or wet surfaces. If chalk accumulates inside the reel, blow it out or brush it away so the string does not jam.
Store pencils, knives, and scribers in a tray, pouch, or chisel roll away from other tools so points do not get dull. A knife guard or a cork on a scriber point prevents accidental cuts and protects the tip. Do not leave blades exposed on a workbench, especially if there are children or pets nearby.
Sharpen a marking knife or gauge blade with a fine stone or according to the tool’s instructions. Always unplug or remove the battery from a power tool before you change blades or bits, but hand-held marking tools also need attention: keep fingers clear of the edge and cut away from you. If a blade is damaged, replace it.
For paint markers, cap them immediately after use and store them horizontally or upside down, depending on the manufacturer’s recommendation, to keep the tip from drying out. Shake well before each use, and test the tip on scrap material until you get the line thickness you want.
FAQ
What is the best marking tool for fine woodworking?
For fine woodworking, a sharp marking knife and a cutting gauge are the most accurate choices. A knife cuts the wood fibers, giving you a clean, exact line for chiseling or sawing to. Use a marking gauge for lines parallel to an edge.
Can I use a carpenter pencil for cabinetry and joinery?
You can, but the line will be too thick for precise joinery. Use a mechanical pencil with a fine lead for a moderate line, or a marking knife for the most accurate layout. Save the carpenter pencil for rough framing and visible marks on rough lumber.
How do I sharpen a marking knife?
Use a fine sharpening stone, and follow the original bevel angle. Keep the bevel flat against the stone and work slowly. For exact instructions, check the manufacturer’s manual for your specific blade and sharpening equipment.
Is chalk line chalk permanent?
Some chalk colors are permanent or very difficult to remove, especially red and other strongly dyed varieties. Check the label before use, and test on a scrap piece first. Use colored chalk only for rough work or where the line will be covered later.
Marking tools are a small investment compared to the rest of a workshop, but they have a big effect on how clean your cuts are. Start with a good carpenter pencil, a fine mechanical pencil, a marking knife, and a durable chalk line. As you move into more precise projects, add a cutting gauge and a metal scriber. Keep them sharp, store them safely, and always choose a line that suits the accuracy your project needs. The right mark is the first step toward the right cut.