Clamping odd-shaped workpieces can be a challenge in any workshop. Unlike square or rectangular stock, irregular profiles, curves, and angled surfaces often slip or tilt under pressure. Using the right methods not only improves joint quality but also prevents dangerous kickback or movement during cutting and assembly. This guide covers proven techniques and tools to help you secure unusual shapes safely and effectively.
Why Secure Workholding Matters for Safety
Proper workholding is a fundamental safety practice. An unsecured workpiece can shift unexpectedly, causing the tool to grab or kick back. This can pull your hands into the blade or bit, or launch the piece across the shop. Even during gluing and clamping, a loose joint can fail under stress. Always follow the tool manufacturer’s instructions and keep guards in place. Wear eye protection, and unplug or remove the battery before adjusting clamps or changing setups. A solid, stable hold lets you focus on the cut or assembly without worrying about sudden movement.
Essential Clamping Methods for Irregular Shapes
Each clamping technique has strengths for different shapes and materials. The table below summarizes common methods, then each is explained in detail.
| Method | Best For | Key Advantage | Consideration |
|---|---|---|---|
| Cauls & Wedges | Panels, frames, angled joints | Distributes pressure evenly | Requires scrap wood preparation |
| Hand-Screw Clamps | Odd angles, delicate surfaces | Wooden jaws conform slightly | Slower to adjust |
| Band Clamps | Curved assemblies, irregular perimeters | Wraps around any shape | May need corner blocks |
| Hot Glue Blocks | Complex 3D shapes, temporary holds | Strong grip on non‑porous surfaces | Removal requires solvent or heat |
| Double‑Sided Tape | Light work, quick positioning | No clamp pressure needed | Limited holding strength |
| Bench Dogs & Holdfasts | Securing to workbench | Frees hands for routing or sanding | Requires bench dog holes |
Cauls and Wedges
A caul is a strip of scrap wood shaped to distribute clamping pressure across a wide or uneven surface. For example, if you are gluing a panel with a slight curve, a caul with a matching concave or convex face prevents the clamp from denting the workpiece. Wedges are small tapered pieces that can be driven between the caul and the workpiece to fine‑tune pressure. To use this method, cut a caul slightly longer than the joint, shape its contact face to match the workpiece contour, then place it between the clamp jaw and the piece. Drive wedges in from opposite sides to apply even force. This technique is especially useful for edge‑gluing boards that are not perfectly flat.
Hand-Screw Clamps
Hand‑screw clamps have two wooden jaws that are adjusted by turning parallel spindles. The jaws can be set at various angles, making them ideal for holding tapered or angled workpieces. The wooden faces also help protect the surface from marring. To use, open the jaws wider than the workpiece, then tighten both spindles alternately until the jaws grip firmly. Because the jaws are not perfectly parallel when angled, they can accommodate slight irregularities. Hand‑screw clamps are excellent for furniture assembly where the joint is not exactly square.
Band Clamps
A band clamp consists of a long strap (often nylon or canvas) and a tightening mechanism. The strap wraps around the entire workpiece, applying even pressure all around. This is perfect for clamping curved or irregular shapes such as chair legs, drum shells, or picture frames with odd angles. Use corner blocks or scrap pads to protect the workpiece where the strap crosses edges. Tighten gradually, checking that the strap stays flat and does not twist. Band clamps can also be used in combination with cauls for large curved panels.
Hot Glue Blocks
Hot glue provides a strong temporary bond that can hold a workpiece in place while you apply traditional clamps. Apply a bead of hot glue to a small block of wood, then press the block onto the workpiece. Once the glue cools, you can clamp the block instead of the irregular surface. This method works well for round, spherical, or highly contoured pieces that ordinary clamp jaws cannot grip. To remove the block later, apply a small amount of isopropyl alcohol or use a heat gun to soften the glue. Always test on a scrap piece first to ensure the glue does not damage the finish.
Double-Sided Tape
For light‑duty work or temporary positioning, double‑sided tape can hold a workpiece to a bench or a sacrificial board. It is useful when you need to keep hands away from a router bit or saw blade. Clean both surfaces thoroughly before applying the tape. Press the workpiece down firmly, then test the hold before starting the tool. Double‑sided tape is not suitable for heavy clamping or high‑vibration operations. It is best for sanding, finishing, or light routing tasks.
Bench Dogs and Holdfasts
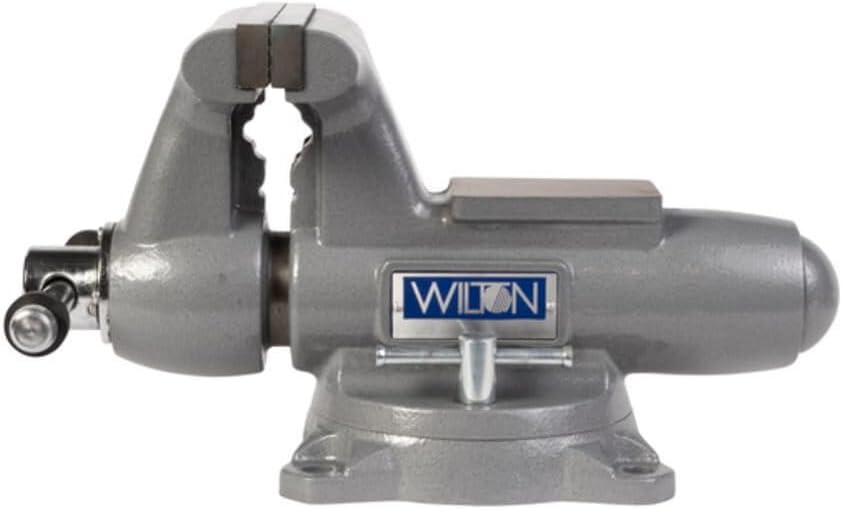
Bench dogs are pegs that fit into holes in a workbench. They can be used to brace irregular shapes against a fence or another dog. Holdfasts are metal hooks that are hammered into the bench top to clamp a workpiece from above. Both methods leave the top surface clear for routing or planing. To secure an odd shape, position the workpiece against a dog, then drive a holdfast down onto it. Use a protective pad under the holdfast’s foot to avoid denting the piece. These tools are especially handy for hand‑tool work and for holding curved parts while shaping. For more on workholding accessories, see our vises and workholding section.
Step-by-Step Guide to Clamping an Odd-Shaped Workpiece
Follow this general procedure to choose and apply the right clamping method for your project.
- Assess the shape and material. Identify curves, tapers, or irregular surfaces. Determine if the workpiece is fragile or prone to denting.
- Select the primary clamping method. Refer to the table above. For a curved perimeter, a band clamp is often best. For an angled joint, hand‑screw clamps work well. For complex 3D shapes, consider hot glue blocks.
- Protect the workpiece. Use scrap wood pads, leather, or rubber pads between clamp jaws and the workpiece. Even wooden jaws can leave marks if over‑tightened.
- Set up the clamping arrangement. Position cauls, wedges, or blocks as needed. For band clamps, place corner protectors. For hot glue blocks, attach them and allow the glue to cool.
- Apply pressure gradually. Tighten clamps in stages, alternating sides to avoid shifting. Check alignment after each increment. For glue‑ups, watch for squeeze‑out and wipe away excess.
- Verify stability. Gently push or tap the workpiece to confirm it does not move. If it slips, add more clamps or switch to a stronger method.
For detailed advice on gluing and clamping wood joints, see our guide to gluing and clamping wood.
Protecting Surfaces
Irregular shapes often have finished or delicate surfaces that can be damaged by clamp jaws. Always use protective pads. Scrap wood blocks faced with felt or cork work well. Leather scraps or rubber jar‑opener pads also provide grip and protection. For hot glue blocks, place a thin piece of paper between the glue and the workpiece to make removal easier. When using double‑sided tape, avoid leaving it on for extended periods, as the adhesive may bond permanently. Test any protection method on a hidden area first.
Common Mistakes
- Over‑tightening. Excessive pressure can crush the workpiece or cause the joint to bow. Tighten only until the piece is secure and the joint closes evenly.
- Uneven pressure. Placing clamps only on one side can twist the workpiece. Use cauls or multiple clamps to distribute force.
- Using too few clamps. Irregular shapes often need more clamps than a straight piece. Add extra clamps near curves or thin sections.
- Forgetting to protect surfaces. Even a momentary slip can leave a permanent dent. Always use pads.
- Ignoring glue squeeze‑out. Excess glue can act as a lubricant and cause the workpiece to slide. Wipe it away promptly.
Troubleshooting
Workpiece slips during clamping. Check that the clamp jaws are parallel to the surface. For round pieces, use a V‑block or a notched caul to cradle the shape. Add a strip of sandpaper between the jaw and the workpiece for extra grip.
Glue squeeze‑out prevents full closure. Apply glue sparingly and spread it evenly. If the joint is already closed but has gaps, add more clamps or use a mallet to tap the workpiece into alignment.
Curved pieces rotate under pressure. Use a band clamp to hold the entire perimeter, or attach temporary blocks with hot glue to provide flat clamping surfaces.
Hot glue blocks break loose. Ensure the surfaces are clean and dry. Apply a larger bead of glue and let it cool completely before applying clamp pressure. If the block still fails, use a stronger adhesive like cyanoacrylate (super glue) with an accelerator for a quick bond.
FAQ
Can I use regular clamps on round objects?
Yes, but you need to adapt the jaws. Use a V‑block or a notched caul to cradle the round shape. Alternatively, wrap the object with a band clamp or attach hot glue blocks to create flat clamping points.
How do I clamp a sphere?
Spheres are best held with a combination of hot glue blocks and a padded vise. Glue several small blocks around the sphere, then clamp those blocks. You can also use a custom cradle made from two pieces of scrap wood with concave cutouts.
What is the strongest method for irregular shapes?
Band clamps provide even 360‑degree pressure, making them very strong for curved perimeters. For rigid joints, hand‑screw clamps with cauls offer excellent holding force. Hot glue blocks are strong but temporary; they are ideal for positioning before applying permanent clamps.
Is hot glue safe for delicate work?
Hot glue can soften some finishes or veneers if the temperature is too high. Use a low‑temperature glue gun and test on a scrap piece first. Apply the glue to a block rather than directly on the workpiece, and let it cool before tightening clamps.
Clamping odd‑shaped workpieces becomes straightforward once you understand the available methods. By choosing the right technique, protecting surfaces, and applying pressure evenly, you can achieve accurate, safe results in any project. Always prioritize safety and test your setup before committing to full pressure.