Routing an edge profile with a handheld router gives woodworking projects a finished, professional look. By using a bearing-guided bit and following a few key techniques, you can produce smooth, consistent edges on boards, shelves, and tabletops. This guide covers the essential steps, from choosing the right bit to making your final pass, so you can achieve clean results with confidence.
What you need
Before you start, gather the following items:
- A handheld router (fixed base or plunge base, though a fixed base is simpler for edge work)
- Bearing-guided router bits for the profile you want (round-over, chamfer, ogee, cove, etc.)
- Router collet wrenches
- Clamps and a sturdy workbench or work surface
- Safety glasses and hearing protection
- Dust mask or respirator (optional but recommended)
- Scrap wood for test cuts
- Your router manual (for recommended speeds by bit diameter)
For more details on routers in general, see the Routers section of this site. If you are new to woodworking, the Woodworking Tools guide can help you understand the basics.
Step-by-step instructions
Follow these steps carefully. Always refer to your router and bit manufacturer’s instructions for specific guidelines.
Step 1: Choose and inspect your bearing-guided bit
Bearing-guided edge bits have a small ball bearing mounted at the tip of the bit, below the cutting edges. This bearing rides against the workpiece, controlling the depth of cut and following the edge. Select a bit that matches the profile you want (round-over, chamfer, etc.). Before installing, check the bearing for smooth rotation and check the cutting edges for any chips or dullness. Do not use a damaged bit.
Some bits accept different bearing sizes, which changes how far the cutter reaches into the edge; follow the bit maker’s guidance and always test on scrap wood first.
Step 2: Install the bit safely
- Unplug the router. Never install or change a bit while the router is plugged into power.
- Loosen the collet nut using the supplied wrenches. Insert the bit shank until it bottoms out in the collet, then pull it back about 1/16 to 1/8 inch (or as recommended by your router manual). This ensures the shank is fully engaged in the collet without bottoming out under load.
- Make sure at least the minimum shank length (marked on the bit or in the manual) is inside the collet. Typically this means the full length of the collet’s grip should be covered.
- Tighten the collet nut securely, but do not overtighten. Use the wrenches to snug it firmly.
If you are using a plunge router, adjust the plunge lock so the bit does not move during operation.
Step 3: Clamp the workpiece securely
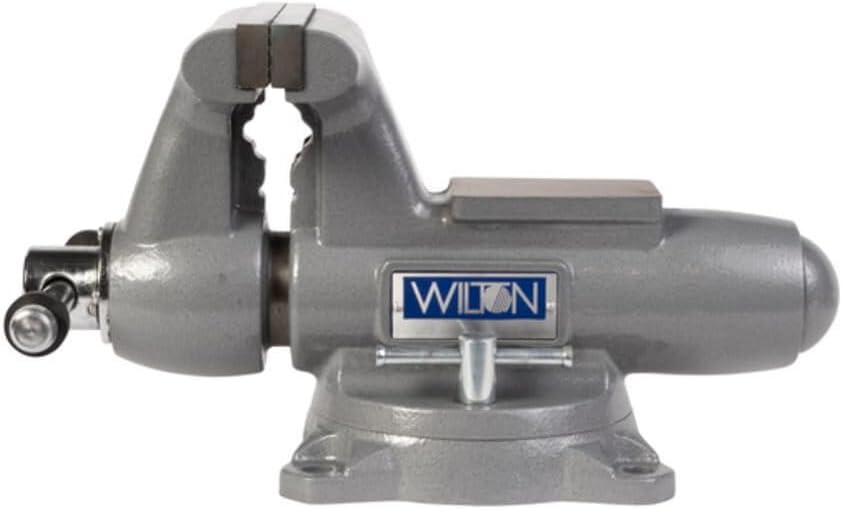
Secure your workpiece to a bench with clamps. The wood must not move during routing. Use a bench vise or workholding system if needed; the Bench Vises and Workholding guide offers useful tips. For small pieces, consider using double-sided tape or a non-slip router mat to prevent sliding.
Step 4: Set the depth of cut
Depth of cut refers to how much material the bit removes in one pass. For most edge profiles, do not try to remove all the material in a single pass. Instead, make several shallow passes. A good rule of thumb is to remove no more than 1/16 to 1/8 inch per pass, depending on the bit size and router power. Adjust the router base height so the bit extends the desired amount below the base.
If using a plunge router, you can set multiple depth stops. For a fixed-base router, you can adjust the base height incrementally between passes.
Step 5: Determine the correct feed direction
On an outside edge (the most common scenario), you should move the router in a counterclockwise direction when viewed from above. This means the bit rotates into the wood (conventional cutting) rather than climbing along the edge. Climb cutting (moving clockwise on an outside edge) can cause the router to pull itself forward, leading to a rough cut or loss of control. To visualize: stand so the workpiece edge is on your left; push the router away from you along that edge.
For inside edges (like the inside of a frame), reverse the direction: move the router clockwise when viewed from above.
Step 6: Practice on scrap wood first
Always make test cuts on a piece of scrap of the same material and thickness. This allows you to check the profile depth, feed speed, and finish quality before routing your actual workpiece. Adjust the router speed if needed – slower speeds for larger bits, faster speeds for smaller bits (check your manual).
Step 7: Rout end grain first to reduce tear-out
When routing all four edges of a board, always rout the end-grain cuts first. Why? The router may cause some tear-out (chip-out) at the end of a cut. By routing the end grain first, you will remove those torn fibers when you later rout the long-grain edges. This leaves a clean final result.
Sequence: clamp the board. Rout one end-grain edge, then the other end-grain edge. Then rout one long-grain edge, then the other long-grain edge. Use the same feed direction for outside edges (counterclockwise).
Step 8: Make the passes
Turn on the router and let it reach full speed before contacting the wood. Lower the bit slowly (if using a plunge router) or start at the edge of the workpiece and gently move the router forward. Keep the router base flat on the workpiece surface at all times. Do not tilt the router, or the profile will be uneven.
Move at a steady pace – too fast and you risk tear-out and chatter; too slow and you can burn the wood. Listen to the motor: a steady whine without bogging down is a good sign. Allow the bearing to ride firmly against the workpiece edge.
On the first pass, remove only a small amount. Make subsequent passes, increasing the depth each time, until you reach the final profile depth. For a deep profile, three to four passes are common.
To avoid burn marks, keep the router moving. Do not pause in one spot. If you do get a burn, it usually means the feed speed is too slow, the bit is dull, or you are taking too deep a cut.
Step 9: Finishing the cut and safety
After completing the final pass, move the router clear of the workpiece, switch it off and wait for the bit to come to a complete stop before setting the router down (with a plunge router, release the plunge to retract the bit). Never set a spinning router on a workbench – it can damage the surface and cause injury.
Unplug the router when you are finished cutting, especially if you need to change bits or clean up.
Common mistakes
- Wrong feed direction: Moving clockwise on an outside edge causes climb cutting, which can snatch the router and ruin the edge. Always go counterclockwise for outside edges.
- Too deep a cut in a single pass: This overloads the motor, creates rough cuts, and can cause the bit to grab. Use shallow passes.
- Routing before clamping: The workpiece can slide, leading to an uneven profile or injury. Always clamp securely.
- Ignoring end grain tear-out: If you rout long grain first, the end grain cuts may tear out the corners. Rout end grain first to clean up later.
- Not using a test piece: You can ruin a finished project by guessing the depth or feed speed. Always test.
Troubleshooting
Here is a quick reference for common issues you might encounter.
| Problem | Likely Cause | Solution |
|---|---|---|
| Rough, chipped cut | Bit is dull or feed speed too fast | Replace or sharpen the bit; slow down your feed rate |
| Burn marks on wood | Feed speed too slow, bit dull, or pass too deep | Increase feed speed, use sharper bit, reduce depth of cut |
| Router pulls sideways or jumps | Climb cutting or incorrect feed direction | Reverse the feed direction; ensure you are moving counterclockwise on outside edges |
| Uneven profile depth | Router base not flat, or bearing not riding against edge | Keep the base flat; check that the bearing is contacting the workpiece firmly |
| Motor bogs down | Cut too deep for router power or bit size | Reduce depth per pass; use a smaller bit or more powerful router |
FAQ
Can I use a straight bit with a guide bushing instead of a bearing-guided bit?
Yes, you can use a straight bit with a router guide bushing and a template to follow an edge. However, bearing-guided bits are much simpler for edge profiles because the bearing follows the workpiece directly without needing a template. For most edge-profiling tasks, bearing-guided bits are the recommended choice.
Do I need to use a router table for edge routing?
A router table can make edge routing easier for large or repetitive work, but it is not required. A handheld router with the workpiece clamped securely works very well, especially for one-off projects or odd-shaped pieces. Just ensure you have good lighting and a stable stance.
How do I avoid tear-out when routing end grain?
Routing end grain first (before the long grain) is the primary technique. You can also use a backer board clamped behind the edge to support the fibers. A sharp bit and light passes further reduce tear-out. Some woodworkers also score the edge with a knife before routing to sever the fibers.
What speed should I set my router for edge profiling?
Your router manual will provide recommended speeds based on bit diameter. As a general rule, larger bits (over 1 inch) should run at slower speeds, smaller bits at higher speeds. For typical edge profile bits (around 1/2 to 1 inch diameter), a medium speed setting often works well. Test on scrap to find the best combination for a smooth cut without burning.
Final thoughts
Routing an edge profile with a handheld router is a skill that improves with practice. Focus on proper bit installation, correct feed direction, and multiple shallow passes. Always prioritize safety – unplug before bit changes, clamp your work, wear eye and hearing protection, and let the bit stop before setting the router down. With these techniques, you can add clean, decorative edges to your woodworking projects confidently.