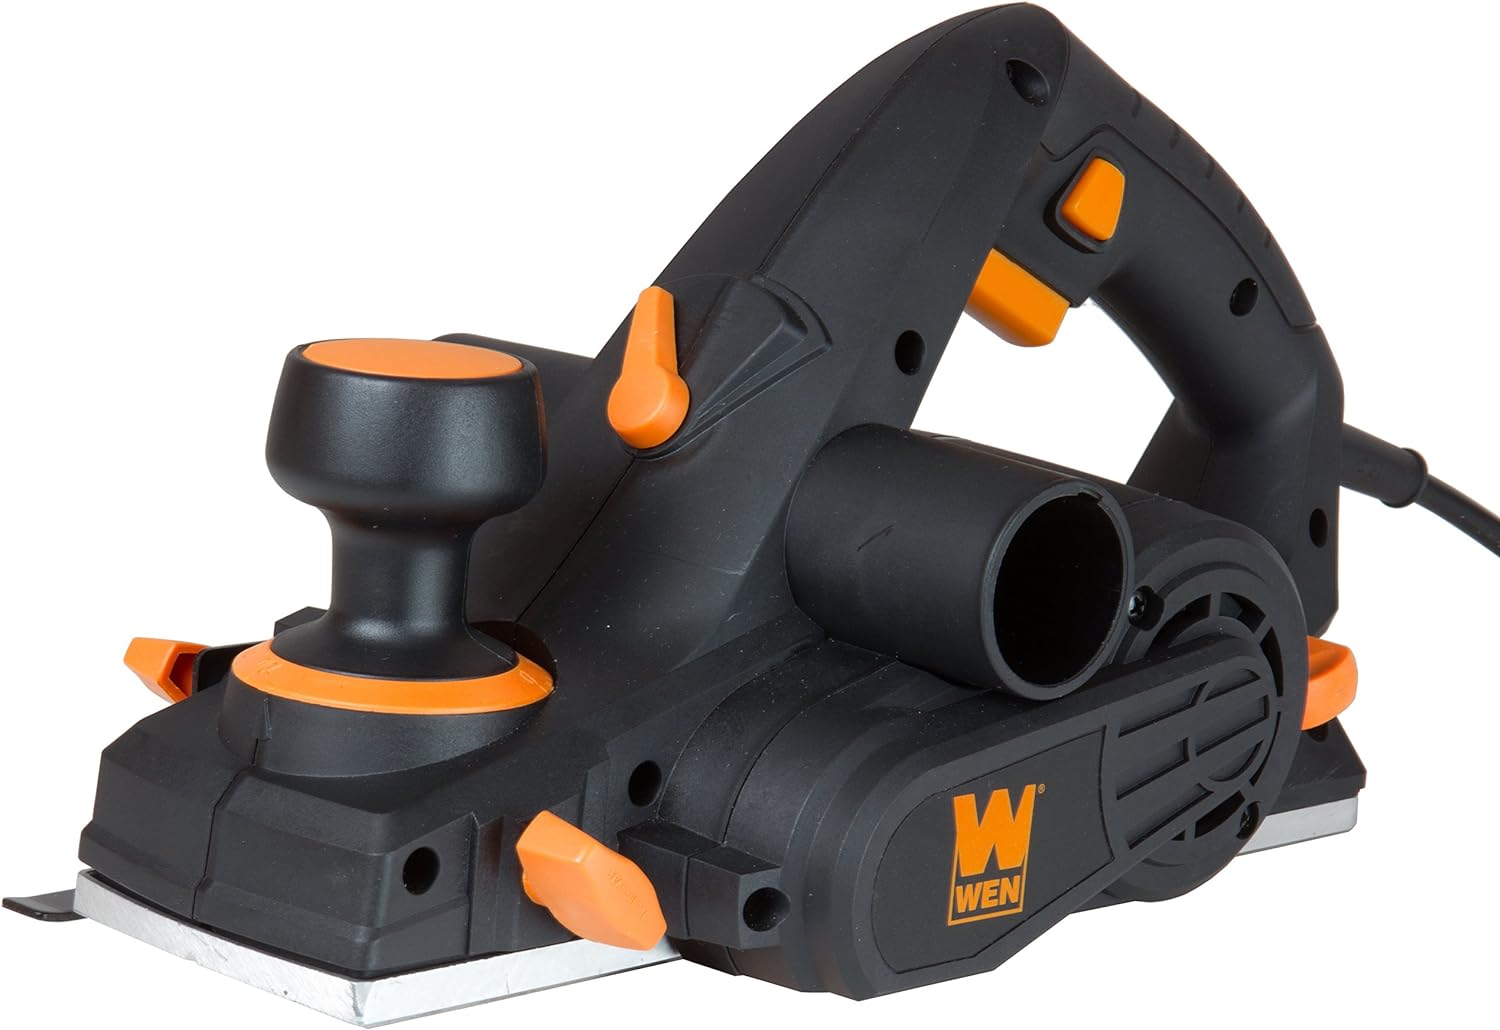
If you have ever run a board through a thickness planer only to find a deeper, gouged cut at the leading or trailing end, you have dealt with planer snipe. This common annoyance wastes wood and forces extra sanding or trimming. Fortunately, snipe is almost always preventable with the right setup and technique. This article explains what causes snipe and walks through practical fixes you can apply on your next project.
What Is Planer Snipe?
Planer snipe is a slight depression or deeper cut that appears within the first few inches of the end of a board after it passes through a planer. It can happen on the infeed end (the end that enters first) or the outfeed end (the end that exits last), and sometimes both. The depression is usually shallow but noticeable to the touch and eye, and it can ruin a piece meant for a tight joint or a visible surface.
Snipe is not a sign of a defective tool. It is a mechanical consequence of how portable and stationary planers work. Understanding the cause is the first step to eliminating it.
How a Planer Works and Why Snipe Happens
A thickness planer uses a cutterhead mounted above the workpiece. The board is fed through by powered rollers: an infeed roller pulls the board in, and an outfeed roller pushes it out. The cutterhead sits between these rollers and removes material from the top surface of the board.
The key to understanding snipe is the pressure bar and the roller system. When only the leading edge of a board is under the infeed roller, the board can tip slightly upward as it meets the cutterhead. This upward tilt forces the front of the board higher into the cutterhead, removing more material than intended. The same thing happens at the trailing end: once the board clears the infeed roller, the outfeed roller alone cannot hold the tail end flat, and the board tips downward, again allowing the cutterhead to take a deeper cut.
In short, snipe happens when the board is not fully supported and level with the planer bed at the moment it enters or exits the cutterhead. Long, heavy boards that extend far beyond the planer are especially prone to snipe because their weight pulls the ends down.
How to Prevent Planer Snipe
Most snipe can be eliminated or greatly reduced with a few setup adjustments and feeding techniques. Try these methods in order, starting with the simplest.
Use Infeed and Outfeed Support
The single most effective way to prevent snipe is to support the board at the same height as the planer bed on both the infeed and outfeed sides. When the board enters and exits the planer, it should remain perfectly level. If the board droops or rises, the ends will tilt and cause a deeper cut.
You can use roller stands, a flat workbench, or a purpose-built outfeed table. Adjust the support so its top surface is exactly level with the planer bed. Test by placing a straightedge across the planer bed and the support surface; there should be no gap or step. For very long boards, use multiple supports spaced a few feet apart.
Lift the Board Ends Slightly
Some woodworkers find that applying a very slight upward pressure on the trailing end of the board as it enters the planer helps keep the leading end flat against the bed. Similarly, as the board exits, gently lift the leading end to keep the trailing end from tipping downward. This technique takes practice; too much lift will cause a reverse snipe or a wavy surface. The goal is just enough pressure to counteract the board’s own weight, not to force it upward.
Feed Boards End to End
If you are planing multiple boards of the same thickness, feed them one right after another so the trailing end of one board is still under the rollers when the leading end of the next board enters. This keeps the rollers engaged continuously and prevents the tipping that causes snipe. The first and last boards may still show some snipe, but the middle boards will be clean. You can then trim the ends of the first and last boards or accept a small amount of waste.
For this to work, the boards must be similar in thickness and you must feed them quickly enough that the trailing board is still under the infeed roller when the leading board reaches the outfeed roller. A helper can be useful for longer boards.
Take Light Passes
Removing a large amount of material in a single pass increases the forces on the board and the rollers, making snipe more likely. Taking lighter passes reduces the load and gives the rollers a better grip. A common rule of thumb is to remove no more than about one-sixteenth of an inch per pass for most hardwoods and slightly more for softwoods. Multiple light passes produce a smoother surface overall and reduce the depth of any snipe that does occur.
Leave Boards Long and Trim the Ends
If you know you need a finished piece at a specific length, cut it a few inches longer than needed before planing. After planing, trim off the snipe-affected ends. This is the most reliable way to get snipe-free boards for joinery or visible surfaces. It does waste a small amount of wood, but it is often the simplest solution, especially when you are working with expensive lumber or need a perfect edge.
Check the Head Lock and Table Adjustment
Some planers have a cutterhead lock or a table lock that can shift during use. If the cutterhead or the table moves even slightly, the depth of cut changes at the ends of the board, causing snipe. Consult your planer’s manual to see if your model has a lock and how to engage it properly. Also check that the table (the bed) is parallel to the cutterhead. An out-of-parallel table will cause uneven cuts and can worsen snipe. Adjustment procedures vary by model, so follow the manufacturer’s instructions. If you are not comfortable with these adjustments, a qualified service technician can help.
When to Check the Tool Itself
If you have tried all the above techniques and snipe persists, the issue may be with the planer’s setup or condition. Here are a few things to inspect, always with the planer unplugged and the power cord secured.
- Roller condition: Worn or glazed rollers can lose grip, allowing the board to slip and tip. Clean the rollers with a mild solvent and a stiff brush according to the manual. Replace them if they are cracked or badly worn.
- Pressure bar adjustment: The pressure bar (located just behind the cutterhead on many planers) helps hold the board flat after the cut. If it is set too high or too low, it can contribute to snipe. Adjustment is model-specific; refer to your manual.
- Table parallelism: As mentioned above, an out-of-parallel table is a common cause of inconsistent cuts. You can check this with a straightedge and feeler gauges, but the adjustment procedure varies. If you are unsure, contact the manufacturer or a repair shop.
- Worn or dull knives: Dull knives increase cutting resistance and can cause the board to lift or chatter. Replace or rotate the knives as recommended by the manufacturer.
If you suspect a mechanical problem that you cannot diagnose or fix, it is wise to contact the manufacturer’s support or take the planer to an authorized service center. Attempting complex adjustments without proper guidance can make the problem worse or create a safety hazard.
Safety Reminders When Using a Planer
Planers are powerful machines that can cause serious injury if used carelessly. Always follow these safety practices:
- Wear eye protection and hearing protection. Planers are loud and generate flying chips.
- Use a dust collection system or wear a respirator. Wood dust is a respiratory hazard.
- Never reach into the planer while it is running. Keep your hands and fingers away from the infeed and outfeed openings.
- Unplug the planer or remove the battery before changing blades, clearing a jam, adjusting the table, or performing any maintenance.
- Keep all guards in place. Do not bypass safety interlocks.
- Read and follow the owner’s manual for your specific planer model. Safety features and adjustment procedures vary.
- Use push sticks or push blocks if your hands need to get close to the rollers. Never feed a board with your fingers directly above the cutterhead.
Planer Snipe Prevention at a Glance
| Method | What It Does | Best For |
|---|---|---|
| Infeed/outfeed support | Keeps the board level with the bed | Long boards, heavy stock |
| Lifting board ends slightly | Counteracts tipping at entry and exit | Short to medium boards |
| Feeding end to end | Keeps rollers engaged continuously | Multiple boards of similar thickness |
| Light passes | Reduces cutting forces | All situations, especially hardwoods |
| Leaving boards long | Allows trimming snipe away | Final dimensioned pieces |
| Checking head lock and table | Addresses mechanical causes | Persistent snipe after other fixes |
FAQ
Can snipe be completely eliminated?
With proper technique and support, you can reduce snipe to a barely noticeable level or eliminate it entirely on most boards. The first and last boards in a run may still show a trace, but that can be trimmed off. No method is 100 percent foolproof for every board, but the fixes described above will get you very close.
Does snipe happen on all planers?
Yes, every thickness planer has the potential to produce snipe. It is a mechanical characteristic of the roller-and-cutterhead design. Higher-end planers may have features such as longer beds, additional rollers, or anti-snipe mechanisms that reduce the problem, but even those benefit from good support and feeding technique.
Should I use a planer sled for short or warped boards?
A planer sled is a useful accessory for flattening boards that are cupped, twisted, or too short to safely feed through the planer. It provides a flat, stable platform that supports the workpiece and prevents tipping, which also helps reduce snipe. If you frequently work with short or irregular stock, a sled is worth considering. Just be sure the sled itself is flat and rigid.
Can snipe damage my planer?
Snipe itself does not damage the planer. However, the cause of persistent snipe, such as a misaligned table or worn rollers, can lead to other problems if left unaddressed. Regular maintenance and proper setup keep the planer running smoothly and produce better results.
Planer snipe is a frustrating but solvable problem. By supporting your boards properly, using smart feeding techniques, and keeping your planer in good adjustment, you can produce flat, smooth boards with minimal waste. For more guidance on choosing and using a planer, see the planers section of our site. And if you are working on a project that involves joinery, you may also find our guide to gluing and clamping wood joints helpful for getting tight, snipe-free results.