Whether you are hanging shelves, patching drywall, tiling a backsplash, or building a small deck, having the right tools for each job saves time and prevents frustration. This guide breaks down the essential tools and accessories for seven common home projects: shelves, deck work, drywall patching, tiling, painting, trim installation, and furniture assembly. For each project you will find a list of tools, advice on what to rent instead of buy, and important safety notes. Always check local permits and codes before starting structural, electrical, or deck work, and follow the manufacturer’s instructions for every tool you use.
Before You Start
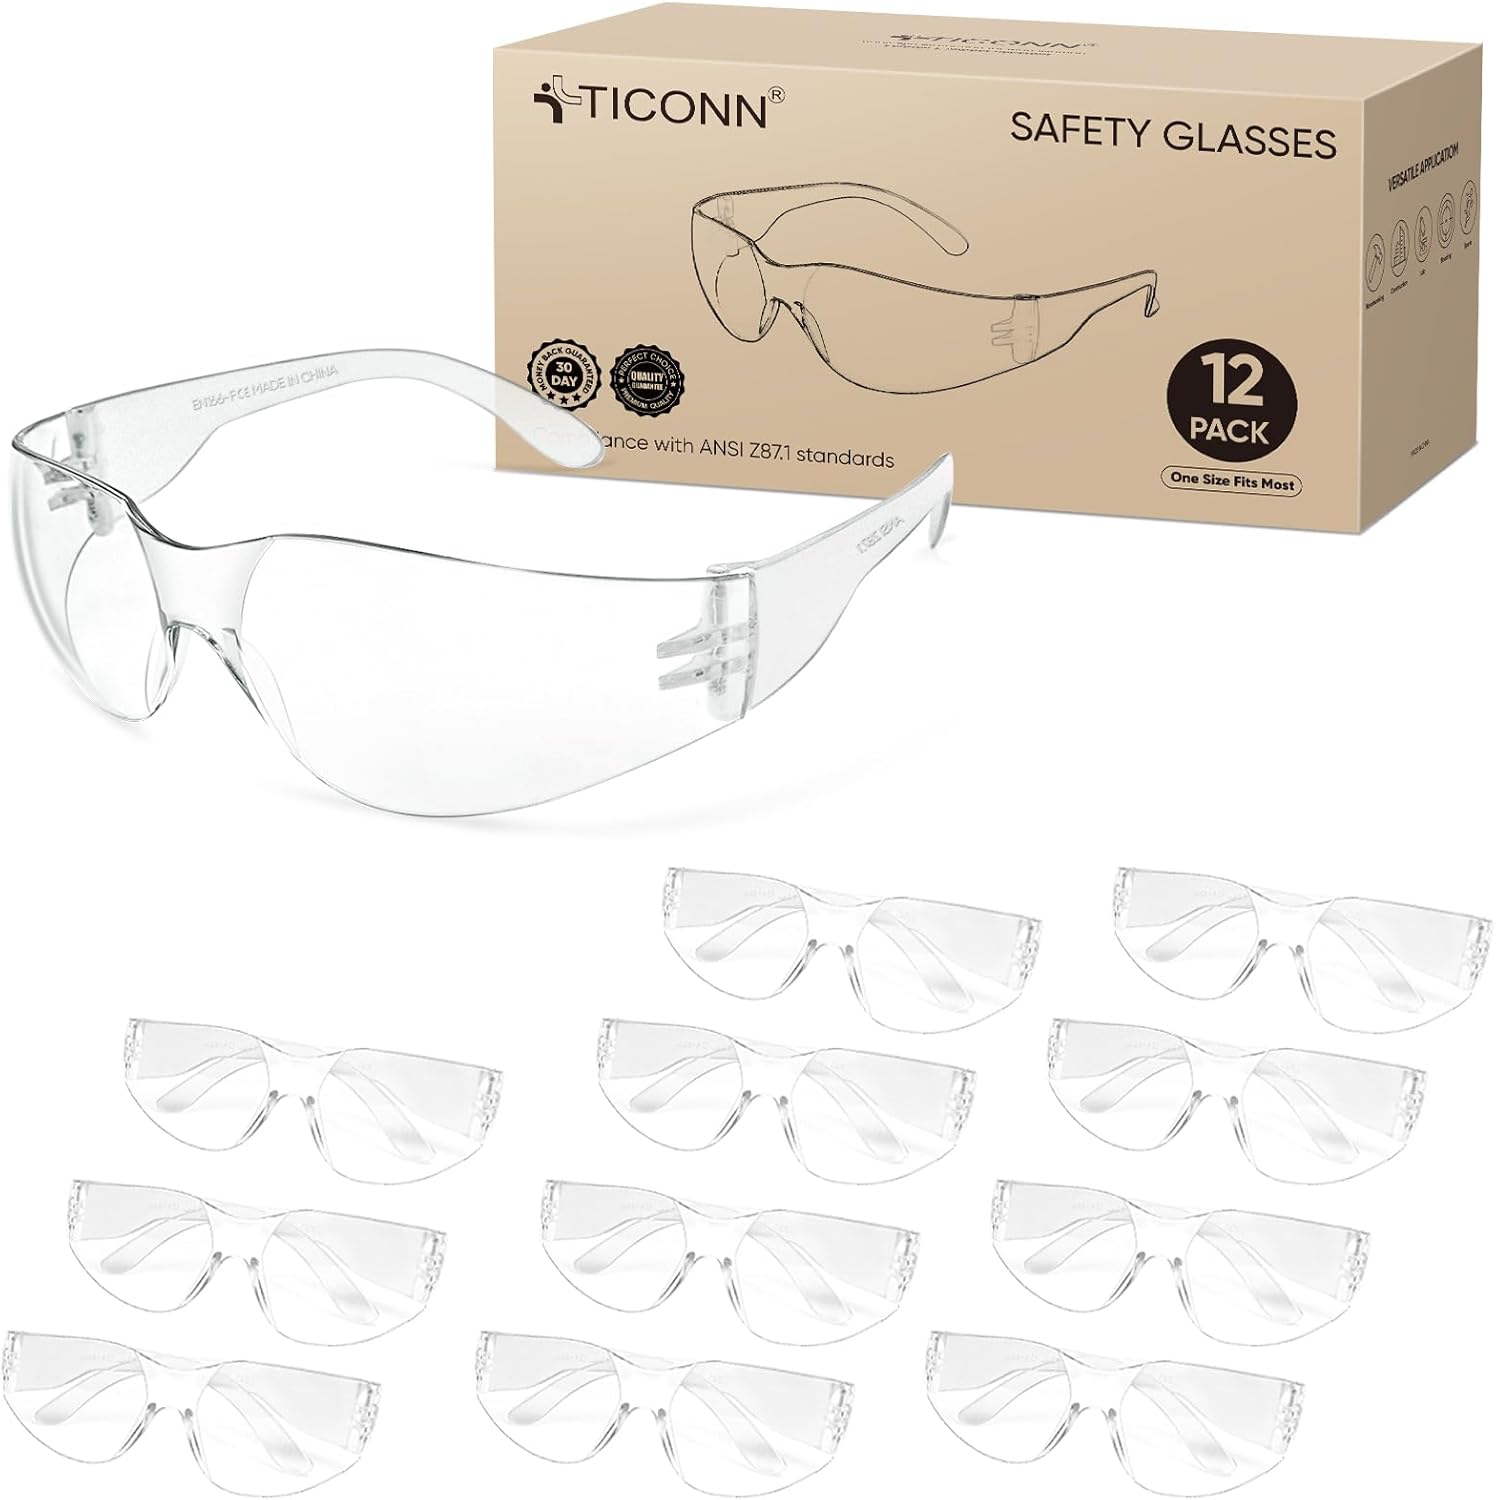
Before you pick up any tool, take a few minutes to review the project scope. For structural work such as building a deck or installing heavy shelves, check with your local building department to see if a permit is required. Electrical work tied to lighting or outlets near a backsplash or shelf also may need a permit and inspection. Wear proper power tool safety gear including safety glasses, hearing protection, and a dust mask or respirator when cutting, sanding, or mixing materials. Keep your work area clean and unplug tools or remove batteries before changing blades, bits, or accessories. If you are unsure about any step, consult the tool manual or hire a licensed professional.
Project Tool Checklists
Hanging Shelves
Hanging shelves is a straightforward project that requires a few basic tools. You will need a stud finder to locate wall studs, a level to keep shelves straight, a tape measure, and a pencil for marking. A drill with a set of twist drill bits and a screwdriver bit (or a separate screwdriver) is necessary for driving screws into studs or wall anchors. For masonry walls, you may need a hammer drill and masonry bits. A cordless drill/driver is the most versatile choice. Key accessories include wall anchors suitable for the shelf weight, screws, and a bracket or shelf standard kit. If you only have a few shelves to hang, you can skip buying a stud finder and instead use a strong magnet to find drywall screws. Safety note: always check for electrical wires and plumbing pipes behind the wall before drilling. Use a wire detector if you are unsure.
Building a Small Deck or Deck Repairs
Deck work is more demanding and often requires a mix of hand and power tools. A circular saw is essential for cutting lumber to length; a miter saw is helpful for angled cuts on railings and trim. A drill/driver with a full set of bits is needed for driving deck screws. For larger decks, a power saw such as a compound miter saw or a track saw can speed up cuts. A level, speed square, tape measure, and chalk line are necessary for layout and alignment. A framing nailer speeds up framing, but joist hangers need the specific nails or structural screws the hanger maker lists, and fasteners must be rated for treated lumber. For digging post holes, you can rent a post-hole digger or a power auger. Safety note: wear heavy gloves and steel-toe boots when handling lumber. Use hearing protection with saws and nailers. Check local building codes for deck size, railing height, and footing depth; a permit is often required for decks above a certain height. Do not work alone when lifting heavy beams.
Drywall Patching
Drywall patching ranges from small nail holes to larger holes that require a patch piece. For small repairs, you need a putty knife, spackling compound, sanding sponge or sandpaper, and a utility knife. For larger patches, add a drywall saw (keyhole saw), a drywall square, and a taping knife for applying joint compound. A cordless drill with a drywall screw gun attachment or a regular drill with a screwdriver bit is used to screw the patch into the studs. A sanding block or pole sander helps smooth the compound. For cutting drywall, a T-square and utility knife are sufficient. You can rent a drywall lift if you are hanging full sheets on a ceiling, but for patching it is not needed. Safety note: drywall dust is irritating to lungs and eyes; wear a respirator and safety glasses. Keep the work area well-ventilated. Use a dust barrier to contain debris.
Tiling a Backsplash
Tiling a backsplash requires precision and the right tools. You will need a tile cutter (manual snap cutter for straight cuts on ceramic or porcelain) or a wet saw for harder materials and intricate cuts. A tile nipper is useful for small curved cuts around outlets. A notched trowel for spreading thin-set mortar, a rubber float for grouting, a sponge for cleaning excess grout, and a level for alignment. Tile spacers ensure even gaps. A drill with a mixing paddle to mix thin-set and grout, and a tile drill bit for holes. A measuring tape and pencil are also needed. For cutting holes for outlets, a hole saw or angle grinder with a diamond blade can be used. You can rent a wet saw if you only have a small backsplash; buying one is worthwhile only for frequent tiling. Safety note: tile edges are sharp; wear cut-resistant gloves. Use eye protection when cutting tile, and a respirator when mixing or cutting to avoid inhaling silica dust. Follow the manufacturer’s instructions for thin-set and grout mixing ratios.
Painting a Room
Painting is one of the most common DIY projects. A roller frame with roller covers (nap appropriate for the wall texture), a paint tray, and an extension pole make wall painting efficient. For trim and edges, you need angled paintbrushes in various widths. Painter’s tape protects baseboards, ceilings, and window frames. A drop cloth covers floors and furniture. A putty knife and spackle are used to fill nail holes and cracks before painting. A sanding block smooths the spackle. A drill with a paint mixing attachment can stir paint thoroughly. For large rooms, you can rent a paint sprayer, but for most rooms a roller and brush are adequate. Safety note: ensure good ventilation when painting indoors. Use a respirator if using oil-based paints or primers. Keep rags and paint cans away from heat sources. Follow the paint manufacturer’s instructions for cleanup and disposal.
Installing Trim
Installing baseboards, crown molding, or door casing requires a miter saw for precise angled cuts. A coping saw is used for inside corners on crown molding if you prefer a coped joint. A nail gun (finish nailer) with a compressor is the fastest way to attach trim, but you can also use a hammer and finish nails. A nail set tool helps countersink nail heads. A tape measure, level, and pencil are essential. A stud finder helps locate studs for nailing. For cutting trim, a compound miter saw is ideal; you can rent one if you do not own one. A miter box and handsaw work for a few cuts but are slower. Safety note: keep fingers clear of the saw blade and clamp short pieces instead of holding them near the blade. Wear eye and hearing protection when using power saws. Check that the trim is straight and the wall is clean before nailing.
Assembling Furniture
Flat-pack furniture assembly is often done with basic hand tools. A cordless screwdriver or drill with a low torque setting is faster than a manual screwdriver. A rubber mallet helps tap pieces together without damage. A tape measure, level, and a small wrench (often included) are useful. A set of Allen wrenches (hex keys) is typically provided with the furniture. A pair of pliers can help tighten bolts. For pieces that require cam locks, a screwdriver bit works. You generally do not need to rent anything for furniture assembly. Safety note: follow the instructions step by step. Do not overtighten screws as it can strip the holes. Keep small parts away from children and pets. If the furniture is heavy, have a helper to lift and position it.
What You Can Skip
Not every project requires a full workshop. For occasional use, you can skip buying specialty tools and instead rent them. Examples include a wet saw for tiling, a miter saw for trim, a power auger for deck footings, and a paint sprayer for large painting jobs. Many home centers and tool rental shops offer daily or weekend rates. For tools you will use only once, consider borrowing from a neighbor or checking a local tool library. Hand tools like a stud finder, level, and putty knife are inexpensive enough to buy and keep. Focus your budget on the tools you will reuse across multiple projects, such as a good cordless drill/driver, a circular saw, and a set of basic hand tools. For more guidance on building a starter kit, see our beginner tool kit checklist for homeowners.
Quick-Reference Table
| Project | Essential Tools | Consider Renting | Key Safety Notes |
|---|---|---|---|
| Hanging Shelves | Stud finder, level, drill, bits, tape measure, pencil | Hammer drill (for masonry) | Check for wires/pipes; use wall anchors correctly |
| Deck Building / Repairs | Circular saw, drill/driver, level, speed square, chalk line | Power auger, miter saw, nail gun | Check permits; wear gloves and steel-toe boots |
| Drywall Patching | Putty knife, utility knife, drywall saw, sanding block, joint compound | Drywall lift (for full sheets) | Wear respirator for dust; ventilate area |
| Tiling a Backsplash | Tile cutter, notched trowel, rubber float, tile spacers, sponge | Wet saw, angle grinder | Cut-resistant gloves; eye and respiratory protection |
| Painting a Room | Roller, brush, painter’s tape, drop cloth, sanding block | Paint sprayer | Ventilate; keep paint away from heat |
| Installing Trim | Miter saw, coping saw, nail gun, level, tape measure | Compound miter saw, compressor | Keep hands clear of blade; hearing protection |
| Assembling Furniture | Cordless screwdriver, rubber mallet, Allen wrenches, level | None needed | Follow instructions; do not overtighten |
FAQ
Do I need a permit for a small deck?
Many local building codes require a permit for any deck that is attached to the house or exceeds a certain height (often 30 inches above grade). Even a low platform deck may need a permit for footings and structural connections. Always check with your local building department before starting. Failure to obtain a permit can result in fines and issues when selling the home.
Can I use a regular drill for drywall screws?
Yes, a cordless drill with a screwdriver bit can drive drywall screws, but you risk overdriving or stripping the screw head. A drywall screw gun has a depth-sensing clutch that stops driving at the correct depth. For patching a few holes, a drill with a clutch setting works fine. For hanging many sheets, consider renting or buying a drywall screw gun.
What is the best tool for cutting tile without a wet saw?
A manual snap cutter works well for straight cuts on ceramic and porcelain tiles up to a certain thickness. For curves or small notches, use a tile nipper. For harder materials like natural stone or large-format tiles, a wet saw or angle grinder with a diamond blade is recommended. You can often rent a wet saw by the day.
How do I choose the right paint roller nap?
The roller nap (cover thickness) depends on the wall texture. For smooth walls, a 3/8-inch nap works. For slightly textured walls, use a 1/2-inch nap. For rough surfaces like stucco or ceiling texture, a 3/4-inch nap is better. Check the paint manufacturer’s recommendations on the can for best results.
Having the right tools for each project makes the work safer, faster, and more enjoyable. Start with the tools you will reuse most often, such as a drill/driver, level, and tape measure, and rent specialty equipment for one-time jobs. For more detailed advice on choosing tools and maintaining them, explore our power tool buying guides and power tool maintenance guide. Always prioritize safety and follow the manufacturer’s instructions for every tool you use.