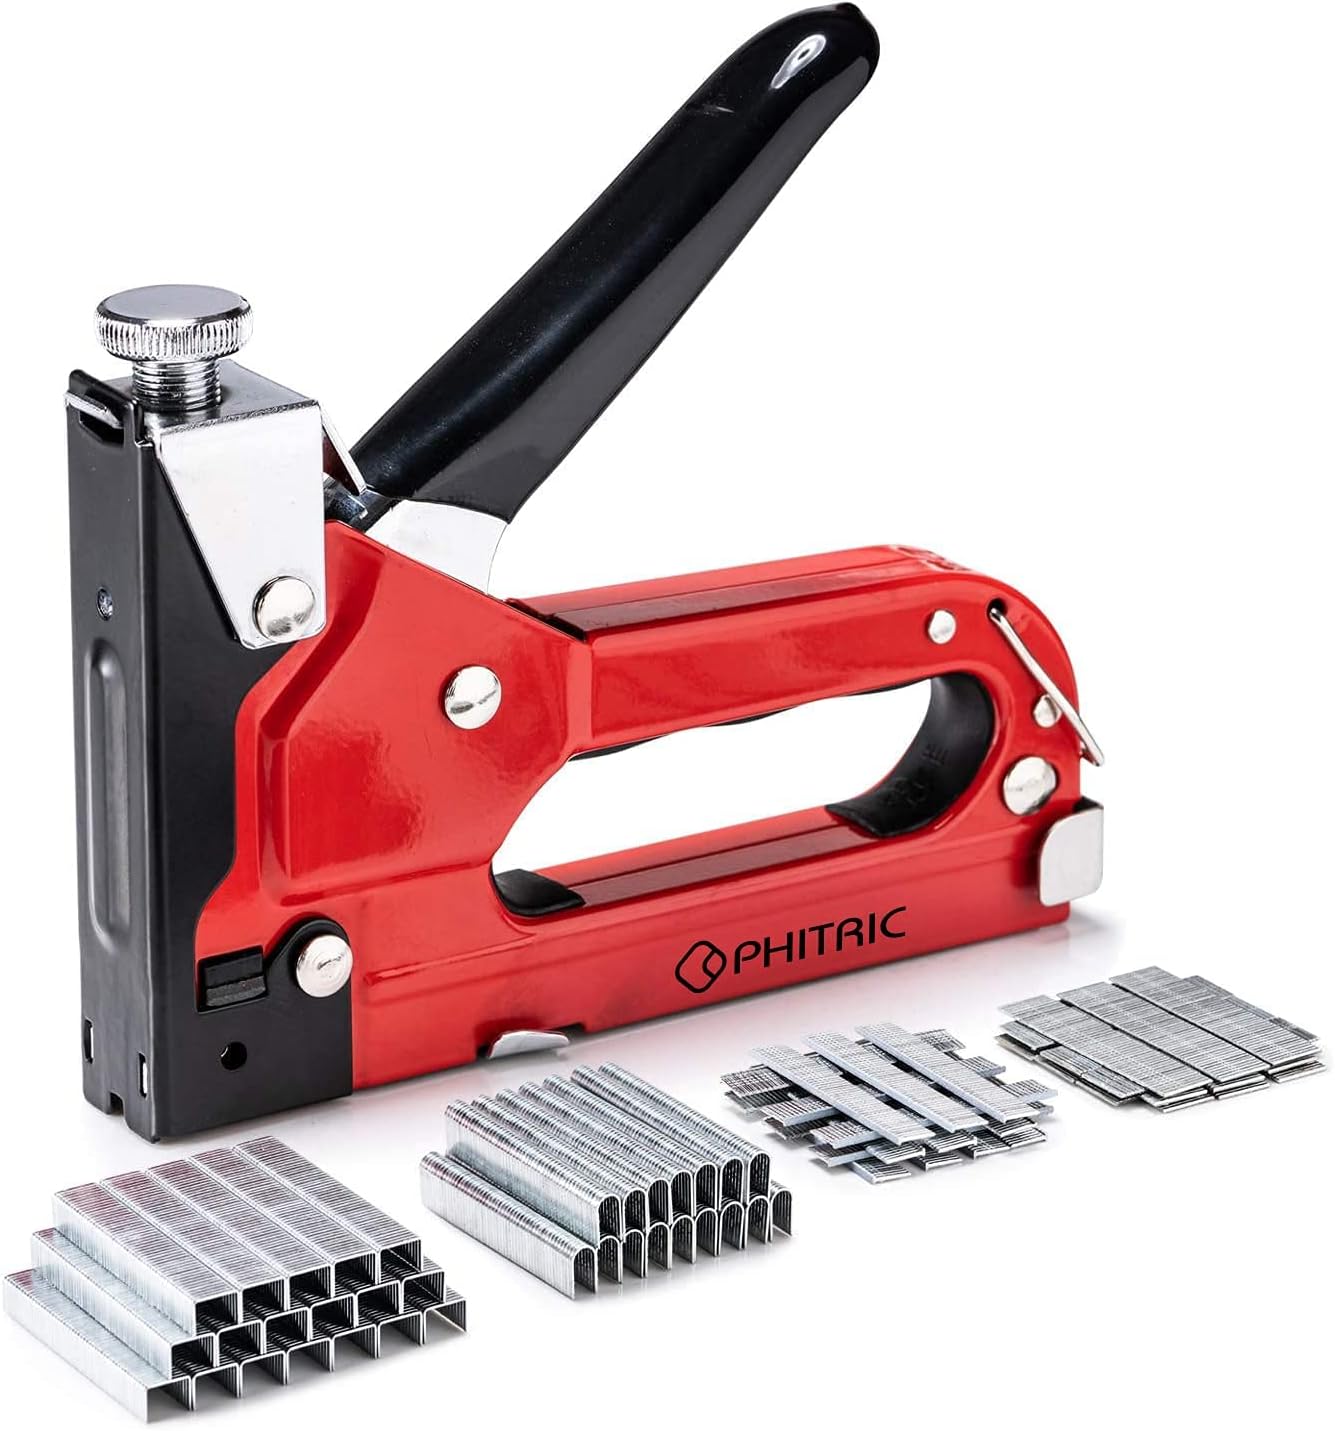
A finish nailer drives trim nails with small heads, making it a go-to tool for baseboard, door and window casing, crown molding, and stair parts. It sits between a brad nailer and a framing nailer in size, so it holds trim pieces firmly without leaving a large hole. The two main decisions are nail gauge and magazine style.
If you are comparing models, start with the finish nailer section for a broader look at the tool family, and check the nailers and fastening tools directory when you want to see related options like staplers and brad nailers.
What a Finish Nailer Does
A finish nailer is designed for trim work where a framing nailer would be too heavy and a brad nailer not strong enough. It drives nails with a small but not tiny head, which holds baseboard and casing firmly while keeping the fastener inconspicuous. Common jobs include installing baseboard, door and window casing, crown molding, chair rail, and stair parts such as skirt boards and treads.
Because these materials are lighter than structural lumber, the nails do not need to be as long or as thick as framing nails. A finish nailer also lets you work one-handed in many situations, which is helpful when you are holding a piece of trim in place with the other hand.
15-Gauge vs 16-Gauge Nails
The gauge describes the diameter of the nail. A 15-gauge nail is thicker than a 16-gauge nail and has a larger head. That gives it more holding power, especially in denser materials and on heavier trim pieces. It also leaves a larger hole in the wood, so you will likely fill the holes with wood putty before finishing. A 16-gauge nail is thinner, leaves a smaller hole, and is less likely to split narrow or delicate trim.
For very large crown or stair work, the extra holding power of 15 gauge can make the joint feel more secure. For baseboard and casing, many DIYers prefer 16 gauge because it is easier to hide and still holds well. The best choice depends on the wood, the size of the trim, and how much you want to fill holes later. Check the manufacturer’s recommendations for the type of work your model is intended to do.
| Comparison | 15-Gauge | 16-Gauge |
|---|---|---|
| Nail body | Thicker and stronger | Thinner and more delicate |
| Holding power | Higher for heavy trim | Good for most trim |
| Hole size | Larger and more visible | Smaller and easier to fill |
| Best fit | Door jambs, treads, large crown | Baseboard, casing, smaller crown |
Angled vs Straight Magazines
Finish nailers are available with either a straight magazine or an angled magazine. The magazine holds the collated nails, and its angle changes how the tool sits in your hands and against the work.
A straight magazine extends straight back from the handle. It tends to balance well when you are nailing flat workpieces and can be easier to store in a toolbox. An angled magazine tilts to one side, and the exact angle varies by model, so compare the spec sheet for the tool you are considering.
Angled magazines are especially useful in corners and tight spaces. When you are nailing baseboard at an inside corner, the angled magazine lets the tool body sit closer to the wall, and the nose can reach the spot without the magazine hitting the adjoining surface. The same advantage applies around door casings and anywhere the geometry gets tight. If you mostly work on open runs of trim, a straight magazine can feel more balanced. If corners and built-in areas are common, an angled magazine is often more practical.
Pneumatic vs Cordless Finish Nailers
Pneumatic finish nailers run on compressed air from an air compressor. They tend to be lighter than battery-powered models because they do not carry a motor and battery. The trade-off is the hose and compressor, which add setup time and tie you to a power outlet and an area with enough room for the equipment.
Cordless finish nailers use a rechargeable battery. Some are powered by an internal air spring that compresses when the tool is driven, while others use a small sealed gas cell or a mechanical mechanism. They are easier to move around a house and more convenient for work on ladders, but they are heavier and require keeping batteries charged. If you work on a job site without nearby power, cordless is often the more practical choice. If you already own a suitable air compressor, a pneumatic model may suit you well.
Features That Matter
Depth Adjustment
A depth adjustment controls how far the nail is driven into the wood. For finish work, you usually want the nail head just below the surface so you can fill it flush. Read the manual to adjust the depth; it is often a dial or wheel near the nose. Test on scrap before working on the actual trim.
No-Mar Tip
Finish nailers are meant for visible wood, so most come with a no-mar tip or nose protector. This plastic or rubber piece keeps the tool from denting the surface. Keep it in place and replace it when it wears out. If you remove it, you risk leaving marks in the trim.
Sequential and Bump Fire Modes
Many finish nailers offer two firing modes. Sequential mode requires you to press the nose against the workpiece and then pull the trigger for each nail. This gives you more control and is the safer choice for precise work. Bump or contact mode lets you hold the trigger and push the nose against the wood to fire repeatedly, which is faster but easier to fire accidentally.
Set the tool to sequential mode for trim and molding projects. Keep your free hand away from the nose and off the workpiece near the driving point. Always wear eye protection, and read the tool manual for details about mode selection.
Jam Clearing
Nailers occasionally jam when a nail catches inside the nose. Before clearing a jam, disconnect the air hose or remove the battery, then release any stored energy. Most finish nailers have a jam release that opens the nose without tools or with a simple latch. Clear the nail, close the nose, and reconnect power only when you are ready to work again.
Sizing, Fit and Compatibility
Finish nailers use collated nail strips. Each gauge has its own nail design, so you cannot swap a 15-gauge nail into a 16-gauge nailer or the other way around. The tool also has a rated range of nail lengths. The manual lists the shortest and longest nails the tool can accept. Some models print the range on the magazine.
Buy nails that match both the gauge and the length range. Using nails that are too long can cause splits or jams, and nails that are too short may not hold the trim. If you switch between different trim thicknesses, you may need more than one length. The nail strip width varies by brand, so check the manual for the manufacturer’s recommended fastener type.
Common Buying Mistakes
- Choosing a gauge before thinking about the trim. If you mostly install thin casing and small molding, a 16-gauge nailer may be enough. For heavy stair and large crown work, consider 15 gauge.
- Ignoring the magazine angle. If you often work in corners, the angled magazine can save headaches. If you work in open spaces, a straight magazine may be more comfortable.
- Buying nails that are not rated for the tool. Check the gauge and the length range before you buy a large box.
- Forgetting that a finish nailer is not a framing nailer. If you are building structural framing, use the right tool and follow the framing nailer guide instead.
- Skipping safety steps. Keep the tool pointed away from your body, keep hands away from the nose, and never carry a connected nailer with your finger on the trigger.
Care, Cleaning and Upkeep
Keep the outside of the nailer clean and free of sawdust. For pneumatic models, the manufacturer may recommend a few drops of tool oil in the air inlet before each session or after a certain amount of use. Follow the manual, because over-oiling can be as harmful as under-oiling. For cordless models, keep the battery contacts clean and follow the charging guidance in the manual.
Before storing the tool, disconnect the air or remove the battery. Clear any debris from the magazine and the nose, and inspect the no-mar tip for wear. Follow the manufacturer’s maintenance schedule, and store the tool in a dry place away from extreme heat and moisture.
FAQ
Can I use a finish nailer for crown molding?
Yes, a finish nailer is a common choice for crown molding. Larger or heavier crown may benefit from 15-gauge nails, while smaller crown can be secured with 16-gauge. Hold the molding firmly and set the depth so the nail head sits just below the surface.
Which gauge should I choose for baseboards?
Both 15- and 16-gauge finish nailers can install baseboard. Many DIYers choose 16 gauge for the smaller hole, especially if they are filling and painting the trim. Choose 15 gauge if the baseboard is thick, hardwood, or needs extra holding power.
Do I need an air compressor for a cordless finish nailer?
No. A cordless finish nailer uses a battery and does not require an air compressor or hose. Some cordless models use air-spring technology, but the air is sealed inside the tool.
Why does my finish nailer keep jamming?
Jams often come from using the wrong size or wrong type of nails, pushing the nose at an angle, or firing into a very hard surface. Clear the jam only after disconnecting the air or removing the battery. Use the nails recommended in the manual and keep the magazine clean.
Choosing between 15 and 16 gauge is mostly about the trim and how much holding power you need. Angled magazines earn their place when corners are part of the job, while straight magazines can feel more balanced for long flat runs. Whichever you choose, read the manual, wear eye protection, and keep the nailer pointed away from your hands and body.