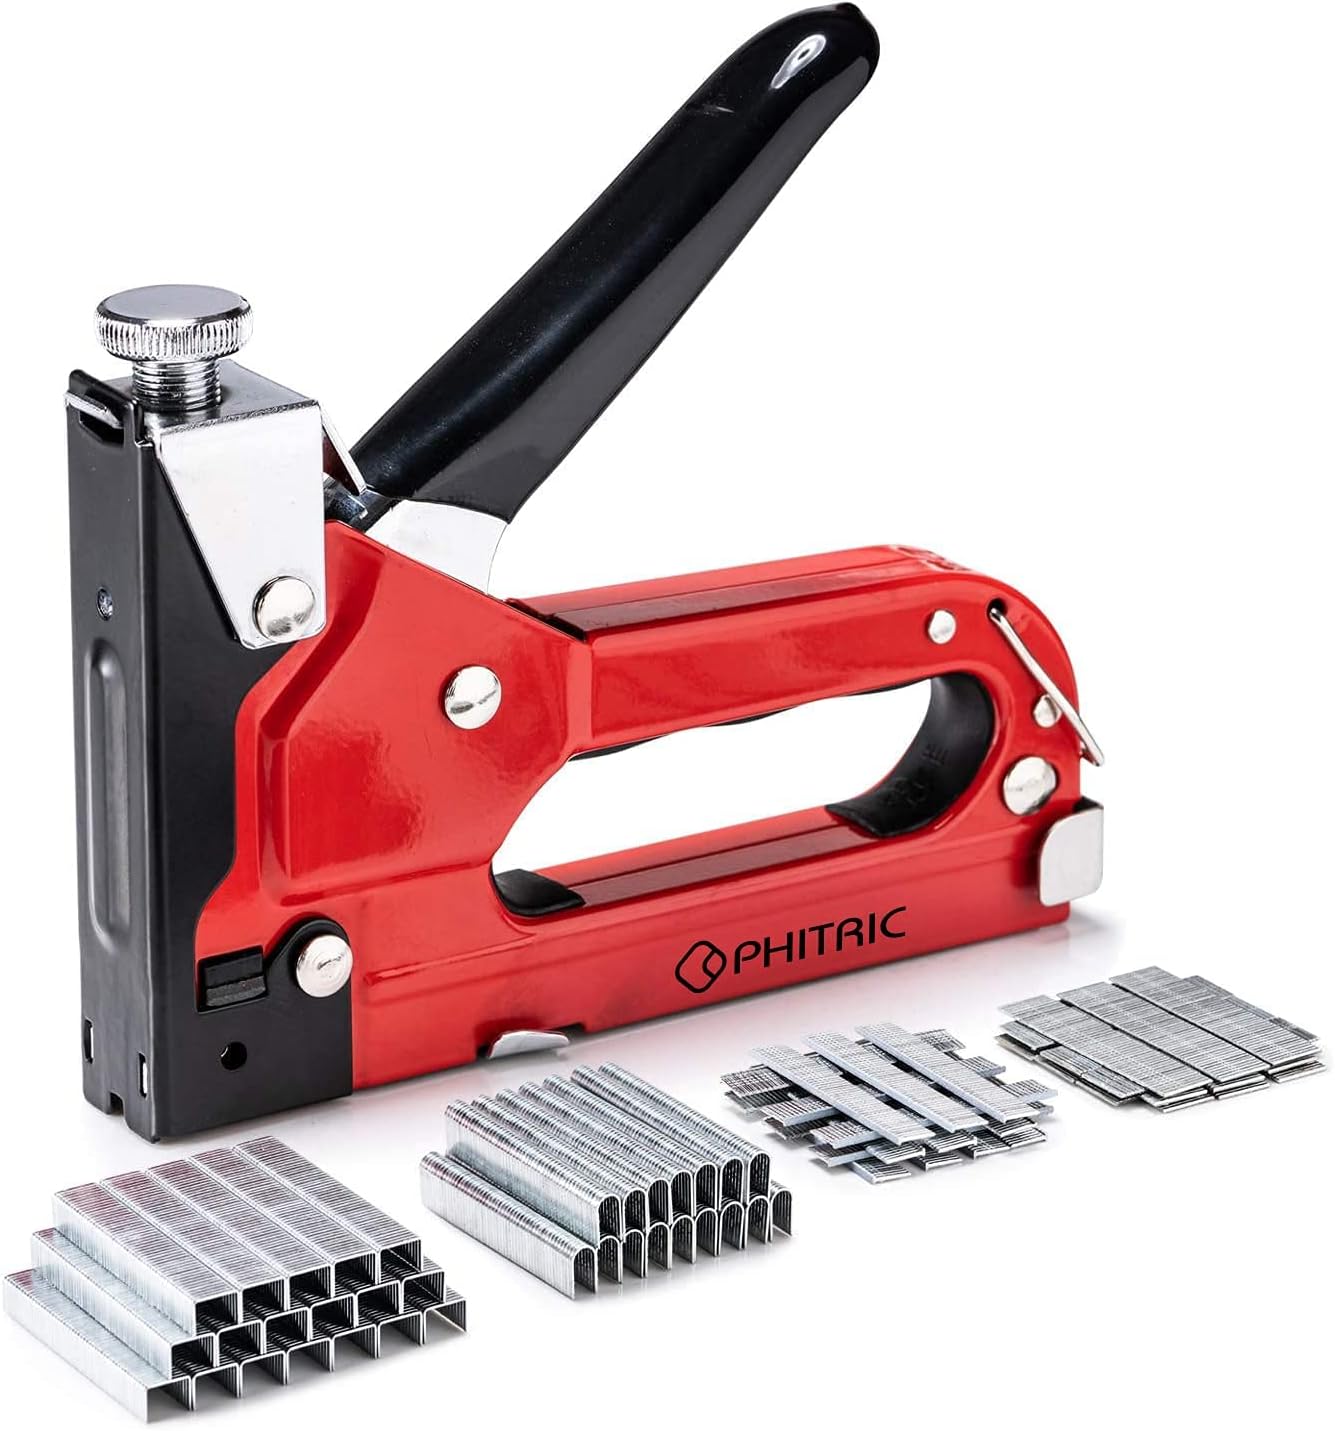
Using a staple gun for upholstery is a straightforward skill once you understand a few key principles: selecting the correct staple length for your fabric and wood frame, pulling the fabric taut without distorting the pattern, and stapling in a sequence that prevents wrinkles. Whether you are re-covering a dining chair seat, a headboard, or a footstool, the same basic technique applies. This guide covers manual and electric staple guns, safety precautions, and the step-by-step process to get a professional-looking result.
What You Need
Before you begin, gather the following tools and materials:
- Staple gun – either a manual (hand-powered) or electric (corded or cordless) model. Manual guns are lighter and give you more control for small projects; electric guns drive staples faster and are better for large jobs or thicker fabrics.
- Staples – choose the correct size for your fabric and frame (see next section).
- Fabric – upholstery-weight fabric, cut with at least 2 inches of excess on each side of the frame.
- Wood frame – the piece you are covering, such as a chair seat or ottoman top.
- Staple remover or flathead screwdriver – for prying out old staples.
- Pliers – to grip stubborn staples.
- Scissors or utility knife – for trimming fabric.
- Measuring tape and marker – to center the fabric.
- Safety glasses – always wear eye protection when using a staple gun.
- Dust mask – recommended if you are removing old upholstery that may contain dust or mold.
Choosing the Right Staple for Upholstery
The staple you choose must be long enough to pass through the fabric and into the wood frame without poking through the top of the fabric or splitting the wood. Test a few staple lengths on scrap with the same fabric and frame wood, and check which staple sizes your gun accepts. For most light- to medium-weight upholstery fabrics on a standard 1/2-inch to 3/4-inch wood frame, a staple with a leg length of 1/4 inch to 5/16 inch works well. For thicker fabrics or multiple layers, you may need a 3/8-inch or 1/2-inch staple.
Crown width also matters. A narrow crown staple (about 1/4 inch wide) is common for upholstery because it holds fabric securely without being too visible. The wire gauge (thickness) should be light enough to drive easily but strong enough to hold. Each gun accepts a specific staple series and wire gauge, so match the staples to the tool. Refer to a guide to staple sizes for more detail on matching staples to your gun and project.
Manual versus electric: a manual staple gun requires more physical effort but gives you precise control over each staple placement. An electric staple gun drives staples with a trigger pull, which is faster but can sometimes over-drive or bounce if you do not hold it firmly. Both types work well for upholstery; choose based on the size of your project and your comfort level.
Step-by-Step Instructions
1. Prepare the Workspace and Remove Old Staples
Place your work on a sturdy table or bench. If you are re-covering an existing piece, you must remove the old fabric and staples first. Use a staple remover or a flathead screwdriver to pry up the old staples. Slide the tool under the crown of the staple and gently lift. If a staple breaks, use pliers to pull out the remaining pieces. Work carefully to avoid gouging the wood frame. Dispose of all old staples and fabric scraps. Clean the frame so it is free of dust and debris.
Safety reminder: Always unplug an electric staple gun or remove its battery before clearing jams or changing staples. Keep your fingers away from the nose of the gun at all times. Read and follow the safety instructions in your tool’s manual.
2. Cut and Position the Fabric
Cut your upholstery fabric so it extends at least 2 inches beyond the edges of the frame on all sides. This extra material gives you enough to pull tight and wrap around the edges. Place the fabric right side up on the frame, making sure any pattern or grain is straight. Use a measuring tape to check that the fabric is centered. Smooth the fabric by hand from the center outward to remove any wrinkles.
3. Start from the Center of Each Side
The most important technique for avoiding wrinkles is to staple the fabric in a specific order. Begin by pulling the fabric taut on one side and stapling at the center of that side. Then move to the opposite side, pull the fabric firmly (but not so tight that you distort the weave), and staple at the center. Repeat for the remaining two sides, always pulling from the center outward. This creates a cross-shaped tension that holds the fabric evenly.
Use one or two staples at each center point initially. You will add more staples later as you work toward the corners. Make sure each staple is driven flush with the wood surface. If a staple sits proud, tap it in with a hammer or remove it and try again.
4. Work Toward the Corners
After you have stapled the center of each side, begin adding staples outward toward the corners. On each side, work from the center staple toward the left corner, then from the center toward the right corner. Pull the fabric gently as you go, keeping the tension even. Space staples about 1/2 inch to 1 inch apart. When you reach the corner area, stop about 1 inch away from the corner edge; you will handle the corners separately.
5. Fold and Secure the Corners
Corners are the trickiest part. There are two common methods: the hospital corner (a clean fold) and the mitered corner (a more tailored look). For a hospital corner, pull the fabric around the corner and fold the excess fabric into a neat pleat on the side of the frame. Staple the pleat in place, then staple the folded edge. For a mitered corner, you cut away some of the excess fabric so the remaining fabric wraps around the corner without bulk. Either way, keep the fabric tight and avoid bunching. Staple the corner securely, then add a few more staples along the edge to lock it.
6. Final Checks and Trimming
Once all sides and corners are stapled, inspect the top surface for wrinkles or looseness. If you see any, you can remove a few staples in that area with the staple remover, re-tension the fabric, and re-staple. Trim any excess fabric close to the staples, but leave a small margin (about 1/4 inch) to prevent fraying. If your project includes a dust cover (a thin black fabric on the bottom of chairs), staple it on after the main fabric is complete.
Common Mistakes
- Using the wrong staple length. Too short and the staple will not hold; too long and it may poke through the fabric or split the wood. Always test on scrap material first.
- Not pulling the fabric tight enough. Loose fabric will sag and wrinkle over time. Pull firmly, but be careful not to stretch the fabric so much that it distorts the pattern or tears.
- Starting at the edges instead of the center. This creates ripples and uneven tension. Always staple from the center of each side outward.
- Stapling too close to the edge of the wood frame. The staple may miss the wood or cause the wood to split. Leave at least 1/4 inch from the edge.
- Overlooking safety. Fingers near the nose of the staple gun can be seriously injured. Keep your free hand well away from the stapling area.
Troubleshooting
Staples not penetrating the wood
This can happen if the staple is too long for the wood, the wood is hard, or the staple gun lacks sufficient power. For manual guns, ensure you are pressing firmly and using a full stroke. For electric guns, check that the battery is charged (if cordless) and that the staple size is within the gun’s capacity. If the wood is very hard, try a more powerful gun or a shorter staple.
Staple gun jams
Jams occur when a staple gets stuck in the driving mechanism. Unplug the gun or remove the battery, then open the magazine and clear the jam using a small screwdriver or the tool provided with the gun. Avoid using excessive force. For more details, see common jam solutions. Always follow the manufacturer’s instructions for clearing jams.
Fabric ripping at the staple
If the fabric tears where the staple enters, the staple may be too large or the fabric may be too delicate. Try a smaller crown width or a lighter wire gauge. You can also use a piece of cardboard or a thin strip of wood as a “staple pad” under the fabric to distribute the holding force. For very fragile fabrics, hand-sewing or using a fabric adhesive may be a better option.
Uneven tension or wrinkles after stapling
If you notice wrinkles after completing a side, you may have pulled unevenly. Remove the staples in the wrinkled area, re-smooth the fabric, and restaple from the center outward. It is easier to fix a small section than to redo the entire piece.
FAQ
Can I use a regular staple gun for upholstery?
Yes, as long as the staple gun accepts staples of the appropriate size for upholstery (narrow crown, light wire gauge). Many manual and electric staple guns are designed for both light construction and upholstery. Check your tool’s manual to confirm it can drive the staple lengths you need.
How do I keep my fingers safe while using a staple gun?
Always keep your free hand at least several inches away from the nose of the gun. Use a clamp or a helper to hold the fabric in place if needed. Never place your hand directly behind the area you are stapling. Review nail gun safety basics for more tips.
What if I staple through the fabric and hit my hand?
This is a serious injury risk. If you accidentally staple your finger or hand, do not pull the staple out yourself – you could damage nerves or blood vessels. Seek medical attention immediately. To prevent this, always follow the safety rule of keeping your free hand clear and using a staple remover or pliers to hold fabric when necessary.
How do I remove a staple that is stuck in the wood?
Use a staple remover tool or a flathead screwdriver. Slide the tool under the crown and pry upward. If the staple breaks, use needle-nose pliers to pull out the remaining legs. Be careful not to damage the wood surface, especially if you plan to reuse the frame.
With the right staple selection, a careful stapling sequence, and attention to safety, you can achieve smooth, wrinkle-free upholstery on chairs, ottomans, headboards, and other furniture. Practice on a scrap piece of wood and fabric before starting your main project to build confidence. For more information on staple guns and fastening tools, explore our nailers and fastening tools section.