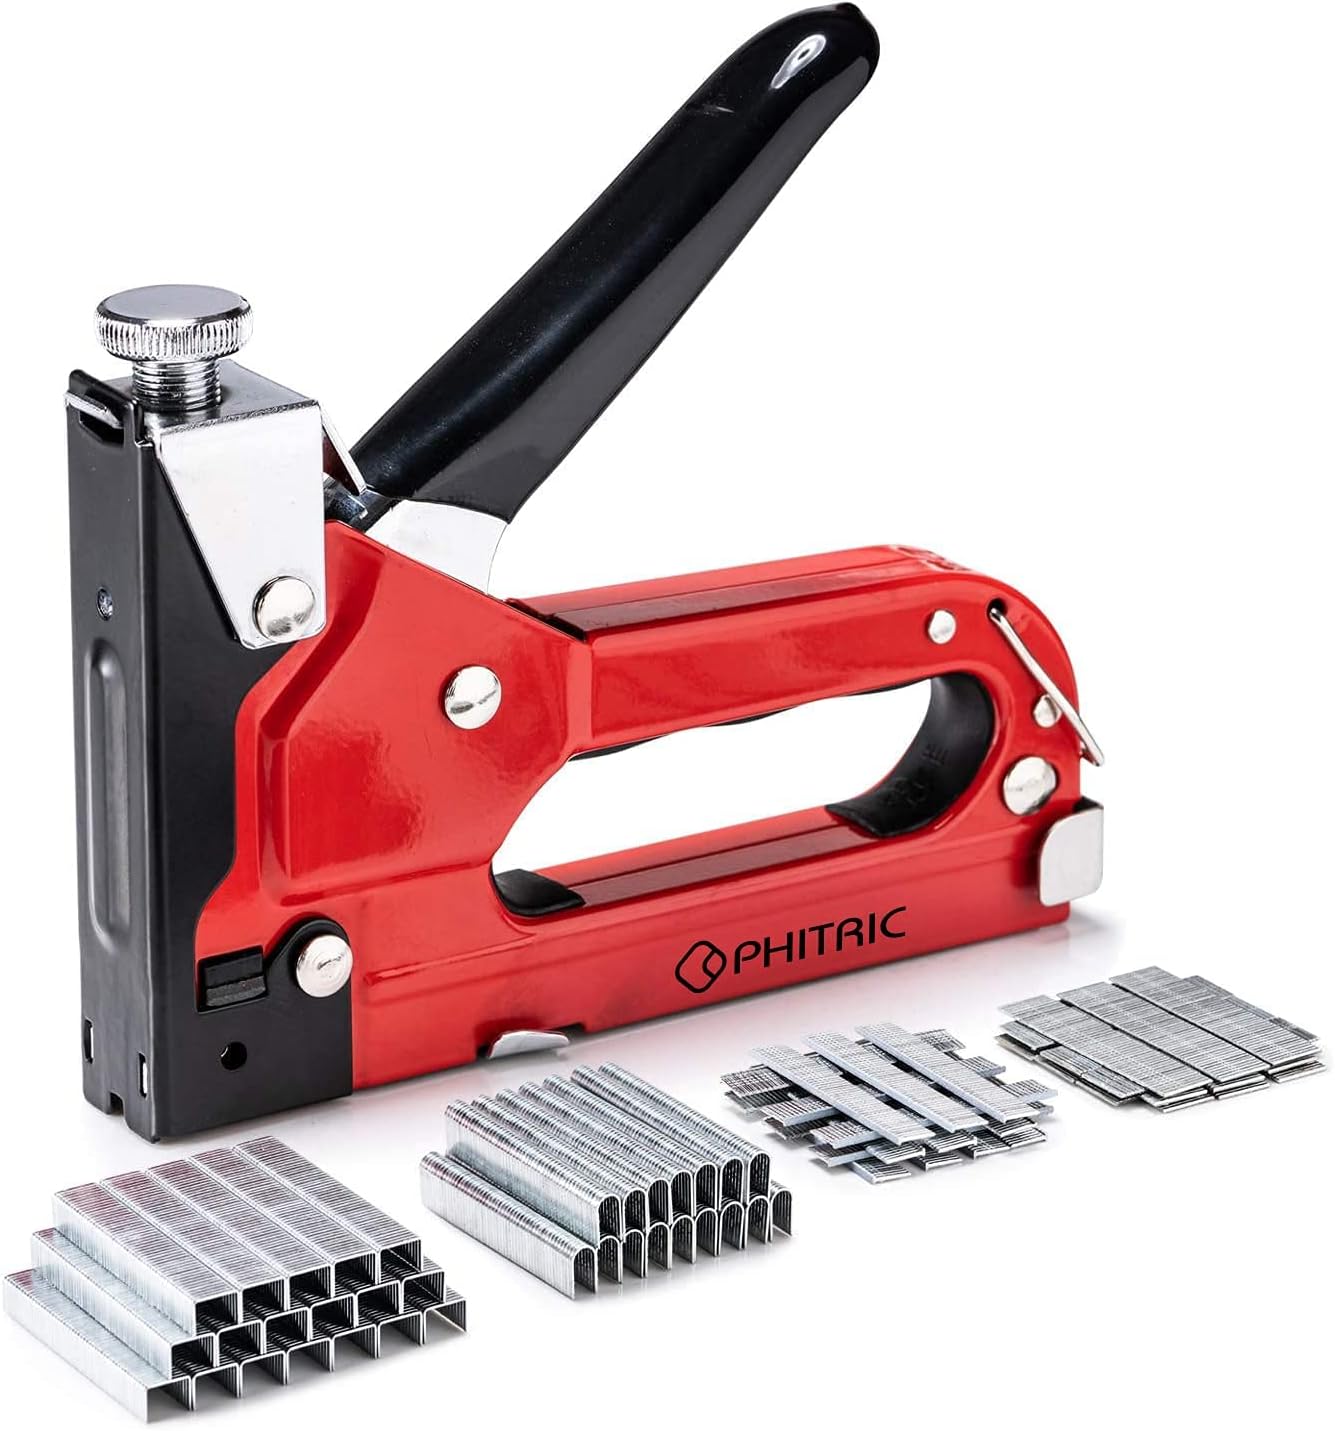
Few things slow a project like a nail gun that jams or misfires. The nail sticks out, the tool skips a cycle, or the fastener bends halfway in. Many of these problems have simple causes you can fix yourself—wrong nail size, low pressure, a dirty magazine, or dry seals. This guide walks through the most common symptoms, what causes them, and how to clear a jam safely. You will also learn when the tool needs a professional repair rather than a field fix.
How a Nailer Fires (a Quick Overview)
Understanding the basic cycle helps you spot what went wrong. In a pneumatic nailer, compressed air pushes a piston that drives the driver blade. The blade strikes the nail, pushes it out of the magazine and into the work. A return spring or air pressure difference resets the piston. In a cordless nailer, a motor or gas spring provides the driving force. Both types rely on correct fasteners, proper seating in the magazine, and a clear path for the driver blade. When any part of that sequence breaks—wrong collation, low air volume, a dirty channel, or a worn driver—the tool jams or misfires.
Symptoms and Likely Causes
Different problems point to different causes. Use this table as a quick reference, then read the detailed explanations below.
| Symptom | Common Causes |
|---|---|
| Nail sticks out of wood (not fully sunk) | Depth setting too shallow, low air pressure (pneumatic), low battery (cordless), wrong nail gauge or length |
| Tool fires two nails at once (double fire) | Worn bump fire actuator, nail collation issues, sticking trigger mechanism |
| No nail fires (dry fire) | Empty magazine, jammed nail strip, disconnected air hose, dead battery |
| Nails bend or come out crooked | Wrong nail angle or gauge, worn driver blade, damaged nosepiece, incorrect firing sequence (contact vs. sequential) |
| Jam in magazine or nosepiece | Wrong collation (plastic vs. paper tape), damaged nail strip, debris in magazine, worn driver |
| Air leak at tool body | O-ring failure, loose fittings, dry seals (pneumatic) |
| Tool cycles but no nail leaves | Broken driver blade, obstructed cylinder, lack of lubrication (pneumatic) |
Wrong Nail Gauge, Length or Collation
The most frequent cause of jams and misfires is using nails the tool was not designed for. Check the manufacturer’s specification for acceptable gauge, length range, and collation type (paper tape, plastic sheet, wire weld). A 16-gauge finish nailer cannot drive 15-gauge nails, and a paper-collar strip does not feed correctly in a tool meant for plastic collation. Also confirm the nail head shape matches the driver.
Air Pressure and Air Supply Issues (Pneumatic Nailers)
Low pressure is a common reason nails do not sink fully. If your compressor is small, it may not keep up with rapid firing. A kinked hose, undersized coupler, or long hose can also reduce pressure at the tool. Clean and lubricate the quick-connect fittings. For tools that require oil, a few drops in the air inlet before each use keeps the seals and piston moving freely. Lack of lubrication causes sluggish operation and can lead to jams.
Battery and Power Issues (Cordless Nailers)
A low or cold battery cannot deliver enough power to fully drive a nail, especially into hard wood. Recharge or swap the battery. Cold temperatures can also slow some cordless nailers; follow the manual’s guidance on operating temperature and storage.
Depth Setting
If every nail sinks too deep or stands too proud, adjust the depth-of-drive wheel or dial. This is a quick fix, but many users overlook it. Turn the adjuster in small increments and test on scrap wood.
Worn or Damaged Driver Blade
Over time the tip of the driver blade chips or wears down. A worn blade cannot push the nail straight, leading to bends and jams. Inspect the driver through the nosepiece (with the battery removed or air disconnected). If the tip is rounded or chipped, the blade needs replacement.
Dirty Magazine or Nosepiece
Dust, sawdust, and dried lubricant collect in the magazine channel and the nosepiece. This interferes with nail feeding and can cause double feeds or jams. Regular cleaning with a brush and compressed air prevents these issues. Check the manual for recommended cleaning intervals.
Step-by-Step Fixes
How to Clear a Jam Safely
- Disconnect power immediately. For pneumatic nailers, disconnect the air hose. For cordless nailers, remove the battery. Never rely on the safety lock alone.
- Wear safety glasses. A jammed nail or spring-loaded part can eject debris.
- Release the spring tension on the magazine. Open the jam-clearing latch or door following your tool’s manual. Many nailers have a quick-release latch on the side or front. Do not force it; consult the manual if it does not open easily.
- Remove the jammed nail. Use a pair of needle-nose pliers to pull the nail out. Check for any broken pieces inside the channel. If the nail is wedged, lift the driver blade gently with a screwdriver—never pry hard enough to bend it. Some tools allow you to retract the driver manually with a lever or slot.
- Inspect the magazine. Look for bent nails, torn collation tape, or debris. Remove the entire nail strip and examine it. If a nail is bent or the collation is broken, discard that strip.
- Close the latch securely. Ensure it clicks fully. A partially closed latch causes repeat jams.
- Reconnect power and test on scrap wood. Fire one or two nails to verify the jam is cleared. If the tool jams again immediately, recheck the nails and magazine for damage.
Adjusting Depth of Drive
If nails consistently sink too deep or not deep enough, adjust the depth setting. Locate the depth-of-drive adjustment—usually a wheel, dial, or lever near the nosepiece. Turn it in small increments: rotate one way to drive nails deeper, the opposite way to leave them more proud. Test on a scrap piece of the same material. For pneumatic tools, also check that the air pressure is within the tool’s recommended range (stated in the manual). Raising pressure drives nails deeper; lowering pressure leaves them shallower.
Fixing Air Leaks on Pneumatic Nailers
Slow air leaks waste compressor capacity and can prevent the tool from cycling properly. Check all connections: quick-couplers, hose fittings, and the air inlet on the nailer. Tighten loose fittings. If the leak comes from inside the body, the o-rings or piston seals are likely dry or worn. Apply a few drops of pneumatic tool oil to the air inlet, then cycle the tool several times to distribute the oil. If the leak persists, the seals need replacement—this usually requires disassembly and should be done by a qualified technician or the manufacturer’s service center.
Dealing with Double Fires and Bending Nails
Double fires (two nails fired on one trigger pull) often happen when the contact trip (safety tip) or trigger mechanism sticks due to debris or wear. Clean the trigger area and the contact trip with a cloth and light oil. Check that the contact trip moves freely and returns fully. If that does not fix it, the tool may have a worn bump-fire actuator that requires replacement.
Nails bending usually point to a worn driver blade, wrong nail angle, or feeding issue. Confirm the nail angle (e.g., 34-degree, 21-degree) matches the magazine. Inspect the driver blade for chips or rounding. If the blade looks fine, clean the nosepiece and magazine rail with a brush and compressed air. Sometimes switching to a different brand of nails (while staying within the same gauge and collation) helps because collation quality varies.
When to Send the Tool for Service
Not every problem is a field fix. Contact the manufacturer or a qualified service center if:
- The driver blade is visibly chipped or broken and you cannot replace it yourself per the manual.
- The tool leaks air heavily even after oiling, and the o-rings cannot be accessed or replaced without special tools.
- The piston or cylinder assembly makes unusual noises (grinding, scraping) after clearing a jam.
- The tool fails to cycle or misfires repeatedly after you have cleaned it, changed nails, and adjusted depth and pressure.
- The battery contacts on a cordless tool are damaged or the tool does not power on with a known good battery.
Disassembly of the main cylinder or piston is beyond what most DIYers should attempt. Doing it incorrectly can create a safety hazard. Always follow the manufacturer’s instructions for service; many brands have authorized repair centers. If the tool is under warranty, do not open the main housing yourself—send it in to keep the warranty valid.
Prevention: Keeping Your Nailer Reliable
Use the Correct Fasteners
Always match nail gauge, length, collation type, and angle to your tool. Keep nails in their original packaging until you need them to prevent dust and moisture damage. Discard strips that have bent nails or torn tape.
Lubricate Pneumatic Tools as Required
If your air nailer requires oil, add 2–3 drops of pneumatic tool oil into the air inlet before each use, or use an inline oiler on the compressor line. This prevents o-ring drying and piston sticking. Follow the manual; some tools are oil-free and should never be oiled.
Clean the Tool Regularly
Blow out the magazine, nosepiece, and trigger area with compressed air after each job. Wipe the rail that the nail strip rides on with a dry cloth. For heavy use, disassemble the nose assembly (as the manual describes) every few months for a thorough cleaning.
Store Properly
Keep the tool in a dry, clean case. For pneumatic nailers, store with a few drops of oil in the air inlet. For cordless nailers, remove the battery if storing for weeks. Avoid leaving the tool in extreme heat or cold, which can damage seals and batteries.
Inspect the Driver Blade and O-Rings
Once a year, remove the nose (if possible per the manual) and examine the driver blade. Replace it if the tip is dull or chipped. Check o-rings for cracks or flattening and replace them with the correct size kit.
FAQ
Why does my nail gun keep jamming with the same nails that used to work?
Over time the driver blade wears, the magazine rail accumulates grime, or the collation quality of that nail brand changes. Clean the magazine thoroughly, inspect the driver blade, and try a different brand of the same gauge and collation to see if the problem clears.
Can I oil a cordless nailer?
Most cordless nailers have sealed mechanisms that do not require oiling. Check the manual. Adding oil to a sealed drive system can attract dust and cause internal issues. Only oil if the manufacturer explicitly instructs it.
How do I know if my air pressure is correct for my nailer?
Your tool’s manual lists a recommended pressure range. If you have lost the manual, look for the pressure range printed on the tool or on the maker’s website and start at the low end. Test on scrap and adjust up until the nail sinks flush. Never exceed the tool’s maximum rated pressure.
Is it safe to fire a nailer without nails to clear a jam?
No. Dry firing (firing without a nail) on most pneumatic nailers drives the piston into the cylinder with no work to absorb the energy, which can damage the tool. Cordless nailers often have safeguards, but still avoid it. Always clear jams manually with the power disconnected.
Most nail gun jams and misfires are simple to diagnose and fix. Start with the fastener type, then check depth and pressure, and clean the magazine. If the problem returns, inspect the driver and seals. When you need more information on selecting the right tool for a specific job, read our guide to brad nailers for delicate trim work, or browse the full nailers and fastening tools section for comparisons. For help choosing the right nail gauge and collation, our nail and staple sizes guide covers air fittings and maintenance supplies as well. Keep your nailer clean, use the right fasteners, and always follow the safety instructions in the manual.