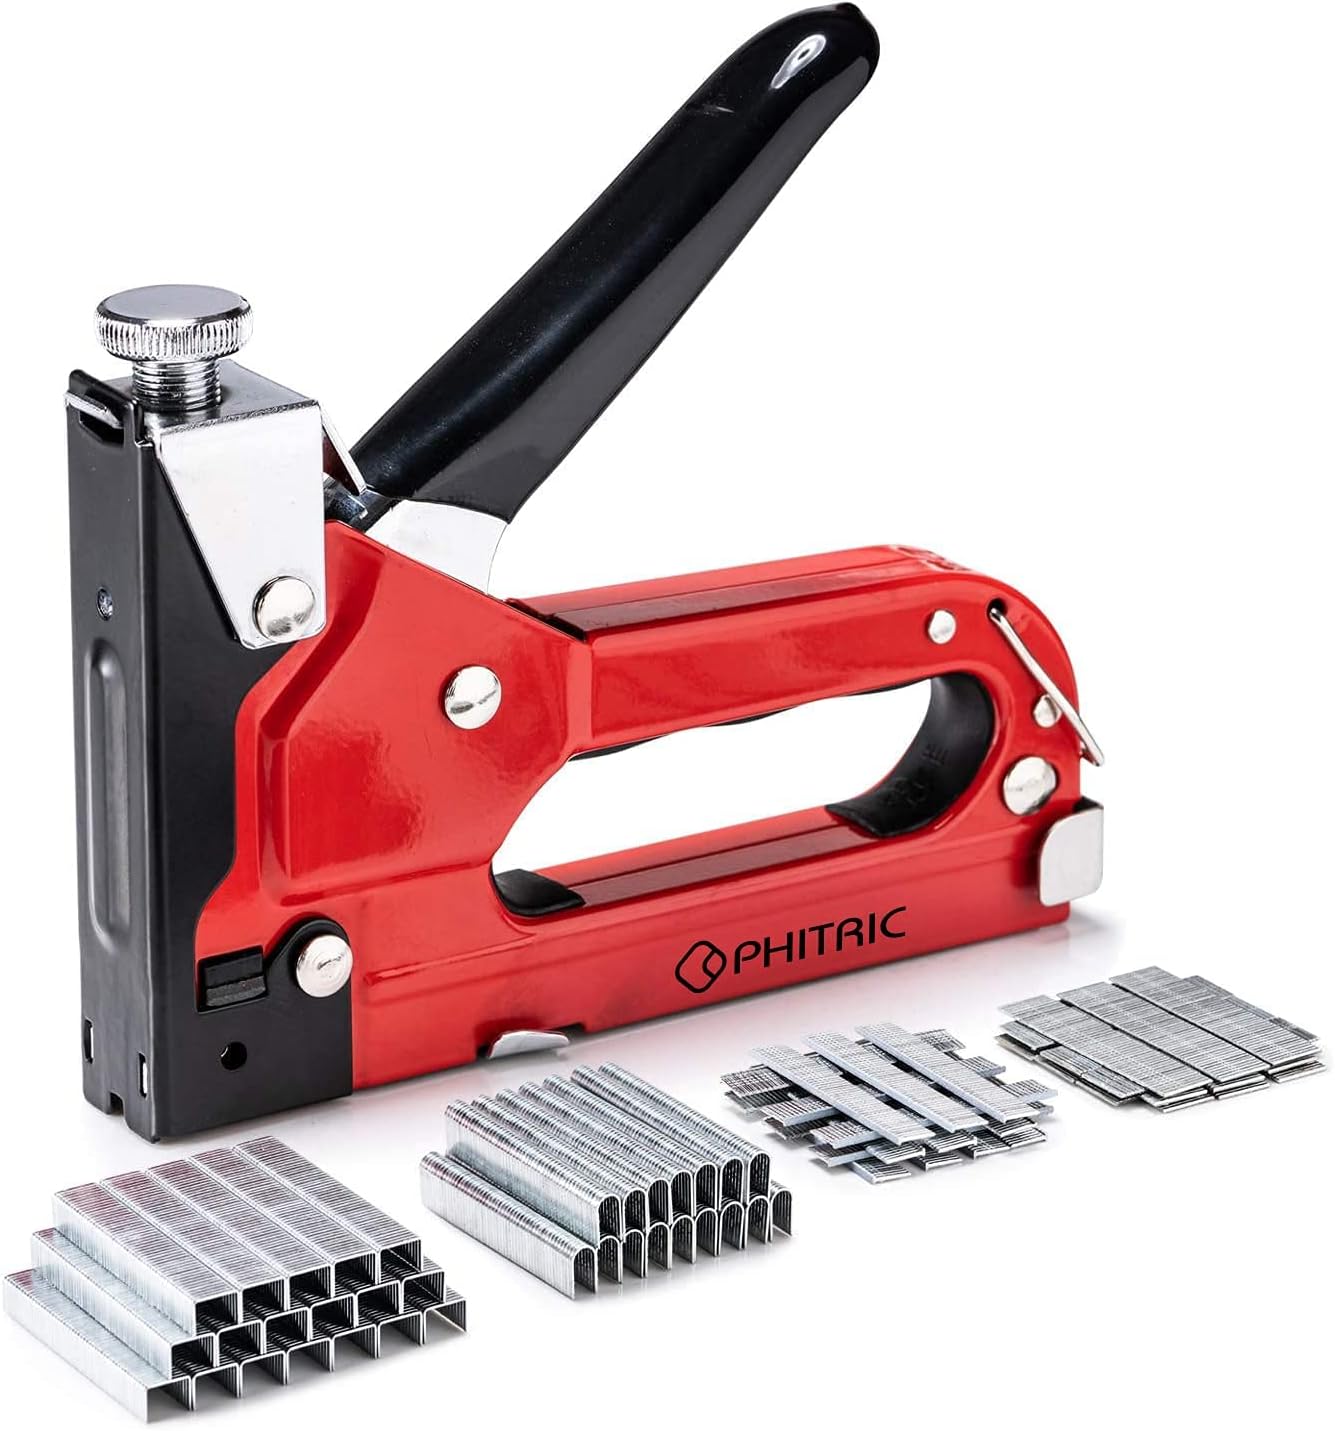
Framing nailers are the workhorses of rough carpentry, designed to drive large nails quickly into lumber for tasks like building walls, roof trusses, and deck framing. The key to choosing the right tool lies in understanding collation angles, nail types, and how local building codes affect your choices. This guide explains the differences between the common collation systems, the nails they use, and what you need to know before buying.
What a Framing Nailer Does and Who It Suits
A framing nailer drives nails that are typically 2 to 3-1/2 inches long, though some models accept shorter or longer nails. These tools are used for structural connections where strength matters: attaching studs to plates, nailing joists, securing plywood sheathing, and building forms. They are not for finish work or trim.
Framing nailers suit homeowners tackling major projects like a shed, garage, or addition, as well as DIYers who want to speed up rough framing. If you are building a deck or a fence, a framing nailer can save hours compared to a hammer. However, the tool is heavy, powerful, and requires respect for safety. Beginners should start with a lighter model and always use sequential (single-shot) mode until they are comfortable.
Main Types: Collation Angles and Nail Strips
Framing nailers are categorized by the angle of the nail strip, which determines compatibility with different nail collations. The four common systems are 21-degree plastic collation, 28-degree wire collation, 30- to 34-degree paper tape collation, and 15-degree coil nailers. Each has distinct advantages and limitations.
21-Degree Plastic Collation Nailers
These nailers use nails held together by a plastic strip that connects the shanks. The plastic strip melts or breaks apart when the nail is driven. The 21-degree angle means the nails are arranged in a relatively compact magazine. A major benefit is that 21-degree nailers can accept full round head nails, which are often required by building codes for structural connections. The plastic collation is less likely to jam than some other systems, but the plastic debris can be a nuisance on the jobsite. These tools are popular for professional framing where code compliance is critical.
28-Degree Wire Collation Nailers
Wire collation uses thin wires that are welded to the nail shanks to hold them together. As the nail is driven, the wire breaks away. The 28-degree angle allows a slightly more compact magazine than 21-degree, but the nails typically have clipped heads (a D-shaped head) rather than full round heads. Clipped heads are designed to allow more nails per strip, but some building codes prohibit them for structural applications because the reduced head area may not provide enough holding power. Check with your local inspector before using a 28-degree nailer on a load-bearing wall. Wire collation can sometimes leave small bits of wire on the ground, which is a minor cleanup issue.
30- to 34-Degree Paper Tape Collation Nailers
Paper tape collation uses a paper strip that is glued to the nail shanks. The paper breaks apart cleanly as the nail is driven, leaving little debris. These nailers typically have a more angled magazine that sits closer to the work surface, which can be helpful in tight spaces. Nails are usually clipped head, though some full round head options exist for certain models. The 30- to 34-degree range covers several common angles; you must use nails that match your specific tool’s collation angle. Paper tape collation is common in cordless framing nailers because the strips are lighter and easier to load. However, the glue can sometimes gum up the tool in hot weather or if the nails are stored improperly.
15-Degree Coil Nailers
Coil nailers are a different breed. Instead of a stick magazine, they use a coil of nails held together by wire or tape. The nails are arranged in a circular coil that feeds into the tool. Coil nailers hold more nails per load than stick nailers, though the round magazine can feel bulky. They are commonly used for roofing and siding, but some are designed for framing. The nails used in coil nailers are typically full round head and come in various lengths. The coil system allows for a very compact tool body, making it easier to maneuver in tight spaces. However, loading a coil can be fiddly, and the full magazine adds weight.
Features That Actually Matter
Beyond collation angle, several features determine how well a framing nailer works for you.
Pneumatic vs. Cordless
Pneumatic framing nailers require an air compressor and hose. They are generally lighter, less expensive, and more powerful than cordless models. The trade-off is the tether to the compressor and the noise of the compressor running. Cordless framing nailers use a battery and a small internal compressor or a flywheel mechanism. They offer freedom of movement and are quieter, but they are heavier and cost more. For a homeowner working on a single project, a cordless model may be worth the extra cost to avoid buying a compressor. For frequent use, pneumatic is often more practical.
Weight and Balance
Framing nailers are heavy tools, typically 7 to 10 pounds. A lighter tool reduces fatigue during a long day of nailing. Balance matters too: a tool that feels nose-heavy will tire your arm faster. Try to hold the tool before buying, or read user reports about its balance. Cordless models are usually heavier due to the battery.
Depth Adjustment
Depth adjustment lets you control how far the nail sinks into the wood. A tool that drives nails too deep can weaken the wood; too shallow leaves the head proud. Most framing nailers have a simple dial or screw that adjusts the driving force. Look for a tool with a tool-free depth adjustment that is easy to reach and adjust without stopping work.
Rafter Hook
A rafter hook (or belt hook) is a metal hook attached to the tool that allows you to hang it from a rafter or your belt when not in use. This is a convenience feature that many users appreciate. Some hooks are removable or reversible for left- or right-handed use. Make sure the hook is sturdy and positioned so the tool hangs properly.
Sequential (Single-Shot) Mode
Most framing nailers offer two firing modes: sequential (also called single-shot) and bump (contact) mode. In sequential mode, you must press the safety tip against the work and then pull the trigger for each nail. This is safer for beginners because it prevents accidental firing. Bump mode allows you to hold the trigger and bounce the tool along the work, firing a nail each time the safety is depressed. Bump mode is faster but requires more skill and attention to avoid firing into the wrong spot or into your hand. Always start with sequential mode and only switch to bump mode after you are fully comfortable with the tool’s operation and safety.
Sizing, Fit, and Compatibility
Nails for framing nailers come in various lengths and head styles. The most common lengths range from 2 inches to 3-1/2 inches. Longer nails (like 3-1/2 inch) are used for connecting thick lumber, while 2-1/2 inch nails are typical for sheathing. Always use nails that are recommended by the tool manufacturer. Using the wrong nail length or collation angle can cause jams or damage the tool.
Full Round Head vs. Clipped Head
Full round head nails have a complete circular head, while clipped head nails have a D-shaped head with a portion cut off. Clipped head nails allow more nails per strip, which means fewer reloads. However, many building codes require full round head nails for structural connections because the full head provides greater pull-through resistance. Rules on clipped-head nails vary between jurisdictions. The safest approach is to use full round head nails for any load-bearing wall, roof, or floor framing unless your local inspector explicitly approves clipped heads. Check with your building department before starting a project.
Checking Local Building Code
Building codes vary by location. Some areas require specific nail head types, shank diameters, or even nail spacing. The best practice is to call your local building inspector or code official before you buy a framing nailer. Ask whether clipped head nails are allowed for structural framing. If they are not, you will need a nailer that accepts full round head nails, such as a 21-degree plastic collation nailer or a 15-degree coil nailer. Do not assume that because a tool is sold at a home center, it is code-compliant in your area.
Common Buying Mistakes
One mistake is buying a nailer based solely on price without considering nail compatibility. A cheap wire collation nailer may not accept nails that meet your local code, forcing you to buy a different tool later. Another mistake is ignoring the weight: a heavy tool can be exhausting for a weekend project, but a lightweight model may lack the power for dense lumber. Also, do not assume that all cordless nailers have enough power for long nails; some are better suited for light framing. Read the manufacturer’s specifications for nail length capacity and driving power. Finally, avoid buying a nailer that uses proprietary nails that are hard to find. Stick with common collation systems like 21-degree or 30-34 degree paper tape, which have wide availability.
Care, Cleaning, and Upkeep
Framing nailers need regular maintenance to stay reliable. For pneumatic models, always use an inline oiler or manually add a few drops of pneumatic tool oil into the air fitting before each use. This lubricates the internal cylinder and seals. For cordless models, keep the battery contacts clean and store the battery at room temperature. After each use, wipe down the tool to remove dust and debris. Pay special attention to the nail magazine and the driver blade area. If the tool jams, follow the manufacturer’s instructions to clear it. Never try to force a jammed nail out with a metal object; use the tool’s clearing mechanism or a wooden dowel. Store the nailer in a dry case to prevent rust. Replace worn o-rings and seals as needed; many manufacturers offer rebuild kits.
FAQ
Can I use any brand of nails in my framing nailer?
You should use nails that match the collation angle and head style specified by the tool manufacturer. While some nails are interchangeable between brands, using the wrong nail can cause jams, misfires, or damage. Always verify compatibility by checking the nailer’s manual or the nail package.
Is a cordless framing nailer as powerful as a pneumatic one?
Modern cordless framing nailers have improved significantly and can drive nails up to 3-1/2 inches into softwood. However, for dense hardwood or very long nails, a pneumatic nailer typically delivers more consistent power. Cordless models are convenient for quick jobs or remote locations without a compressor.
Do I need a full round head for all framing?
Not necessarily, but many building codes require full round head nails for structural connections. For non-structural work like fencing or temporary bracing, clipped head nails are often acceptable. Check with your local inspector to be sure. If in doubt, choose a nailer that accepts full round heads.
How do I safely clear a jam in a framing nailer?
First, disconnect the air supply (pneumatic) or remove the battery (cordless). Then open the magazine and remove any nails. Use the tool’s clearing mechanism or a non-marring rod to push out the jammed nail. Never use a metal screwdriver or pry bar, as this can damage the driver blade. Refer to your tool’s manual for specific instructions.
Choosing the right framing nailer involves matching the collation angle to the nails you need, considering weight and power preferences, and verifying code compliance. By understanding these factors, you can select a tool that will serve you well on your next framing project. For more information on nailers and fastening tools, visit our nailers and fastening tools page, or explore the specific framing nailers section for detailed comparisons. Always prioritize safety: wear eye and hearing protection, keep your hands away from the nail line, and never carry the tool with your finger on the trigger. Read and follow the manual that comes with your nailer.